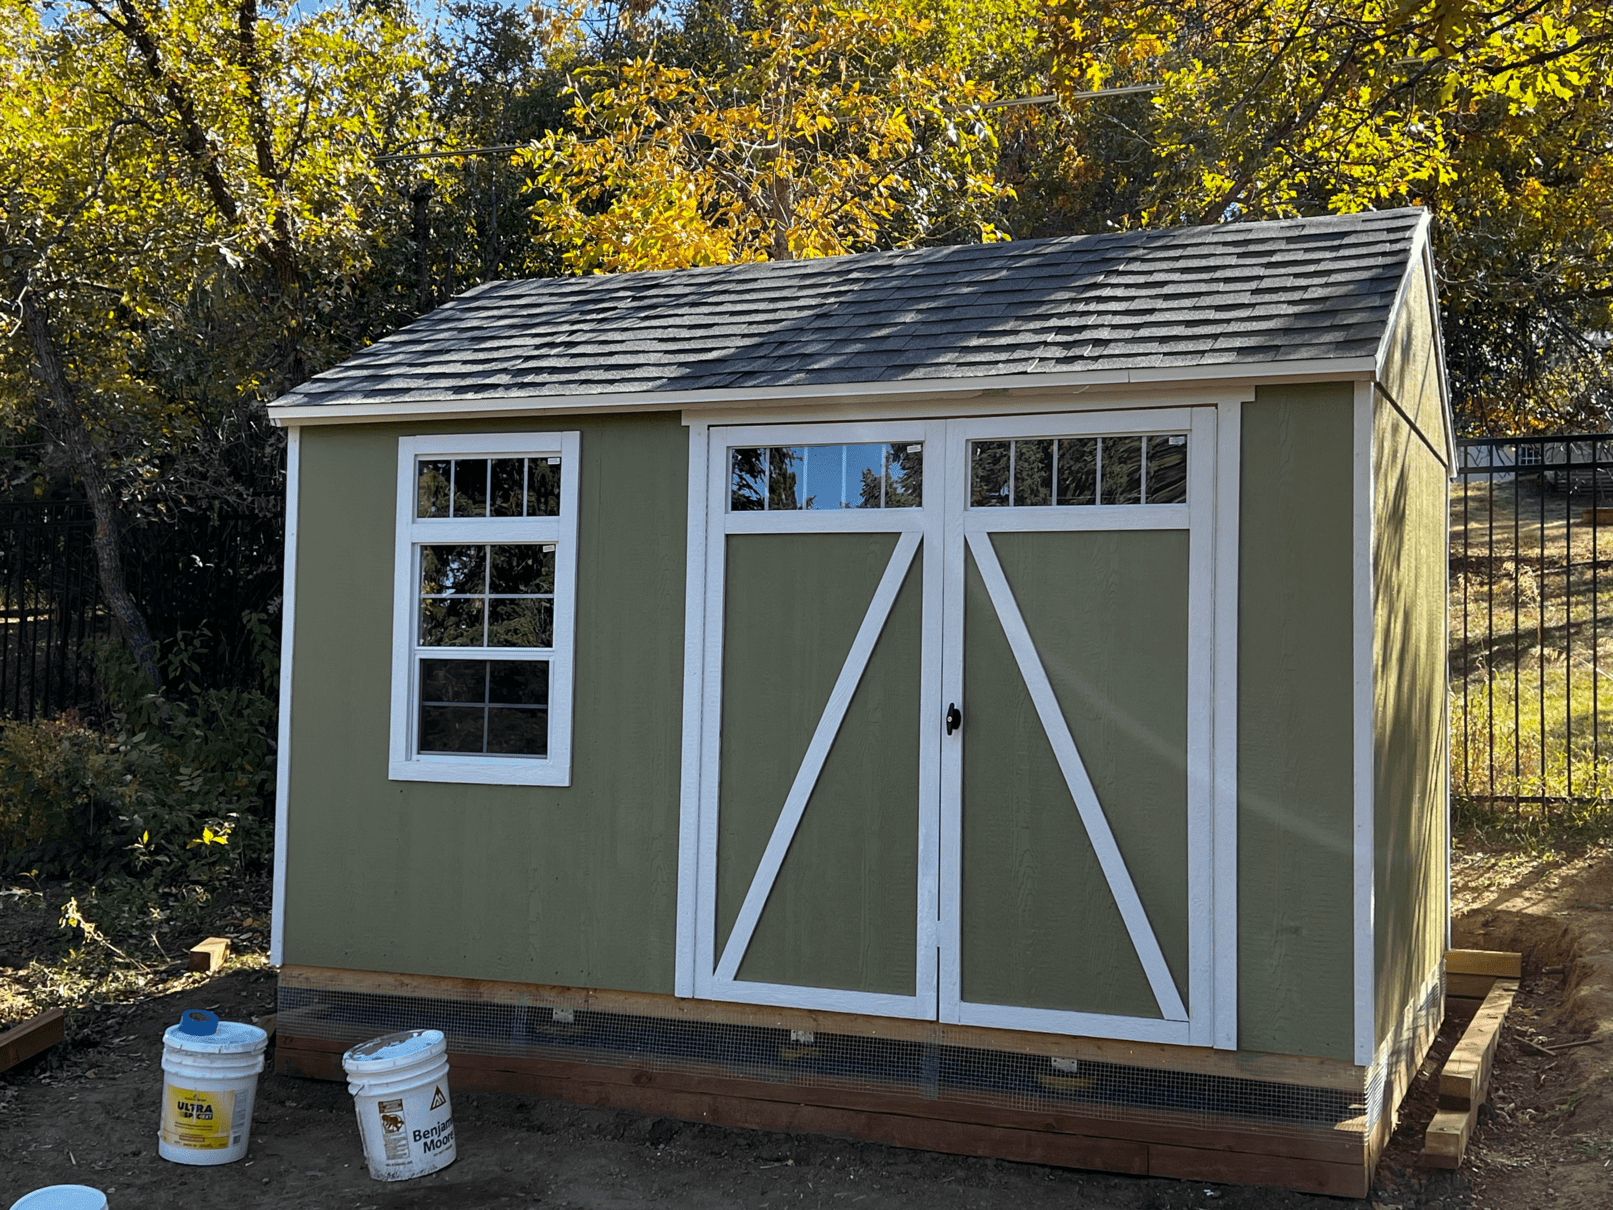
Let's Go Shedding
DIY
Or, how to spend $5,000 “saving money” by “doing it yourself…”
A small passion of mine outside of work is to start major projects with relatively little planning. Our recent 6 month saga of the backyard shed was no exception. In order to “save money” and “make things easier,” I decided that doing it entirely DIY with a kit and nothing else was the best way to go. Mistakes were made, lessons were learned…
It all started with a plot. We live close to a mountain, and flat land comes at a premium. I (stupidly) decided to build it into a hill with retaining walls instead of using the very flat area on the opposite side of the yard. Despite having a skid steer available, we dug 90% of it by hand. It was all clay, and not just clay, but premium quality, dense, break your back clay. Clearing took weeks a few hours at a time.
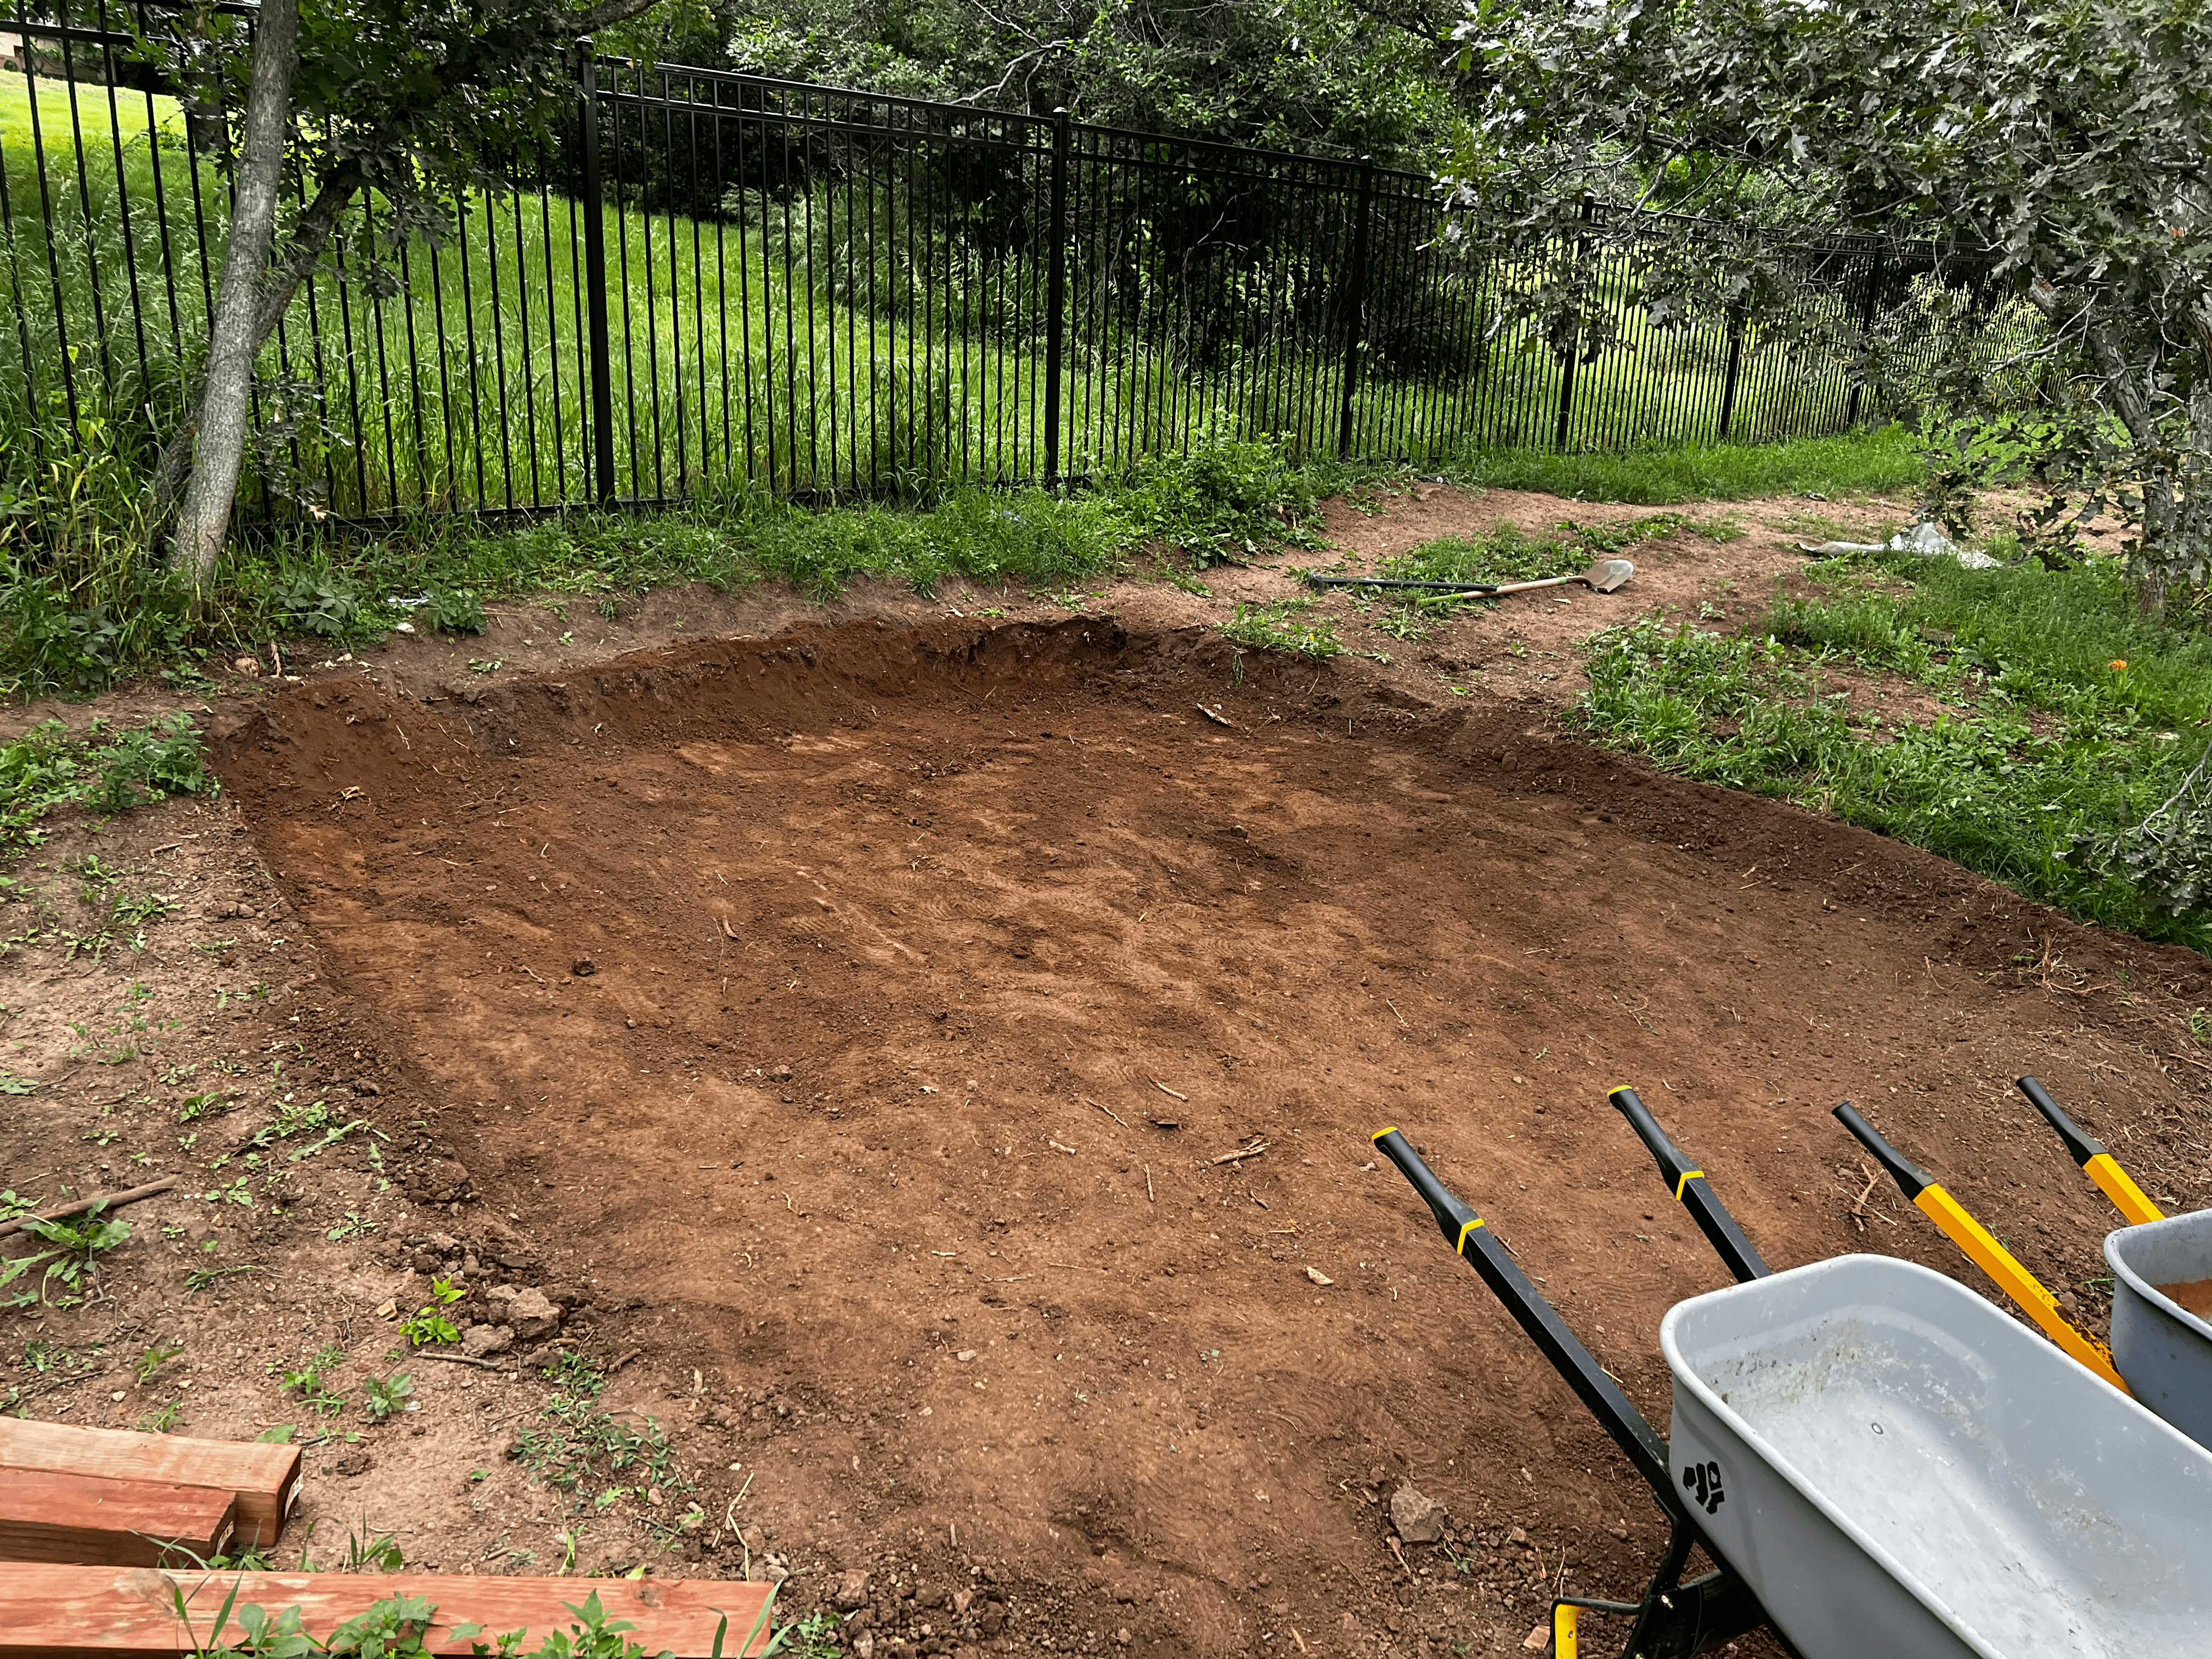
Once we had a relatively flat spot, we mapped out a 14ft x 10ft area and completely leveled it. We left a buffer of about a foot around each side for the retaining walls. We chose not to set the shed on a gravel pad that extended beyond the area because of relatively easy to manage runoff. Next, building the frame made it abundantly clear that the area was in fact not level, and required terracing to create a flat cage for the gravel.
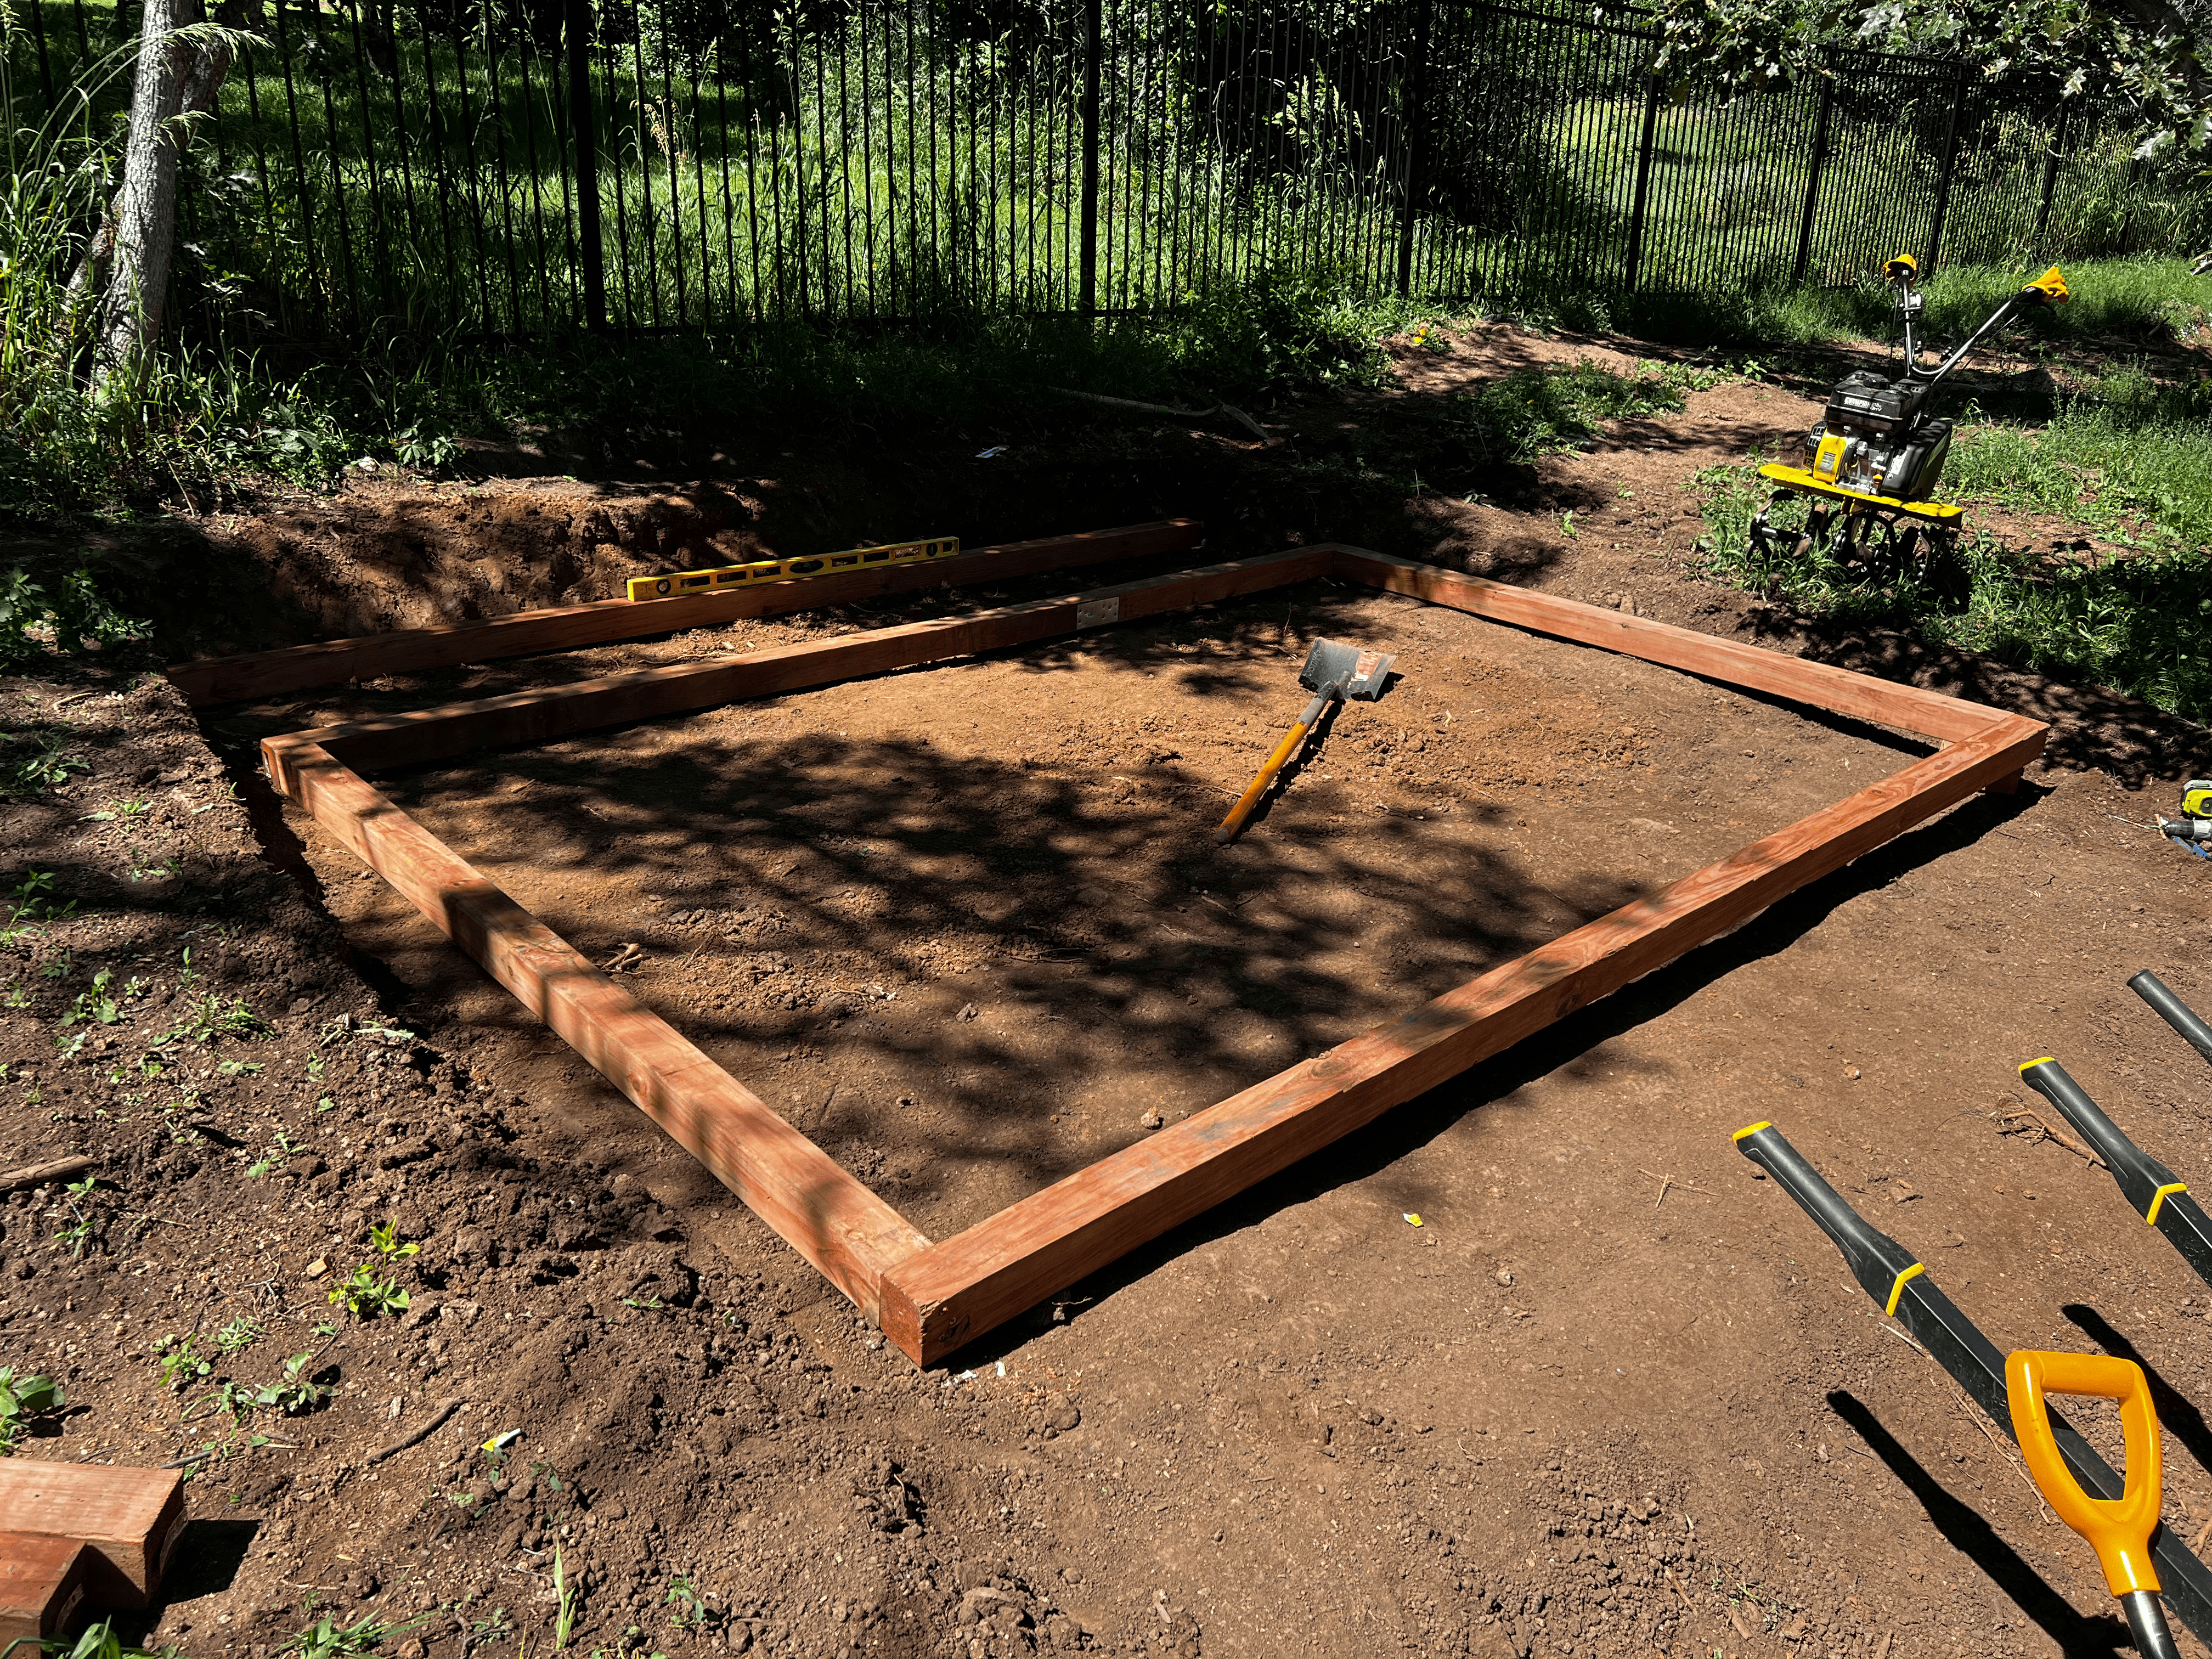
Let me tell you about shed anchoring. Despite being one of the most common big boy DIY tasks I think someone can do, the amount of information out there about how to actually position and anchor your shed ranges the gambit of useful to useless. Even for a relatively small shed (we’re not parking cars), opinions range from “set it on gravel” to “support each joist with cement columns at every corner.” I’ll admit - I agonized over stability for weeks and still got it wrong as you’ll see later.
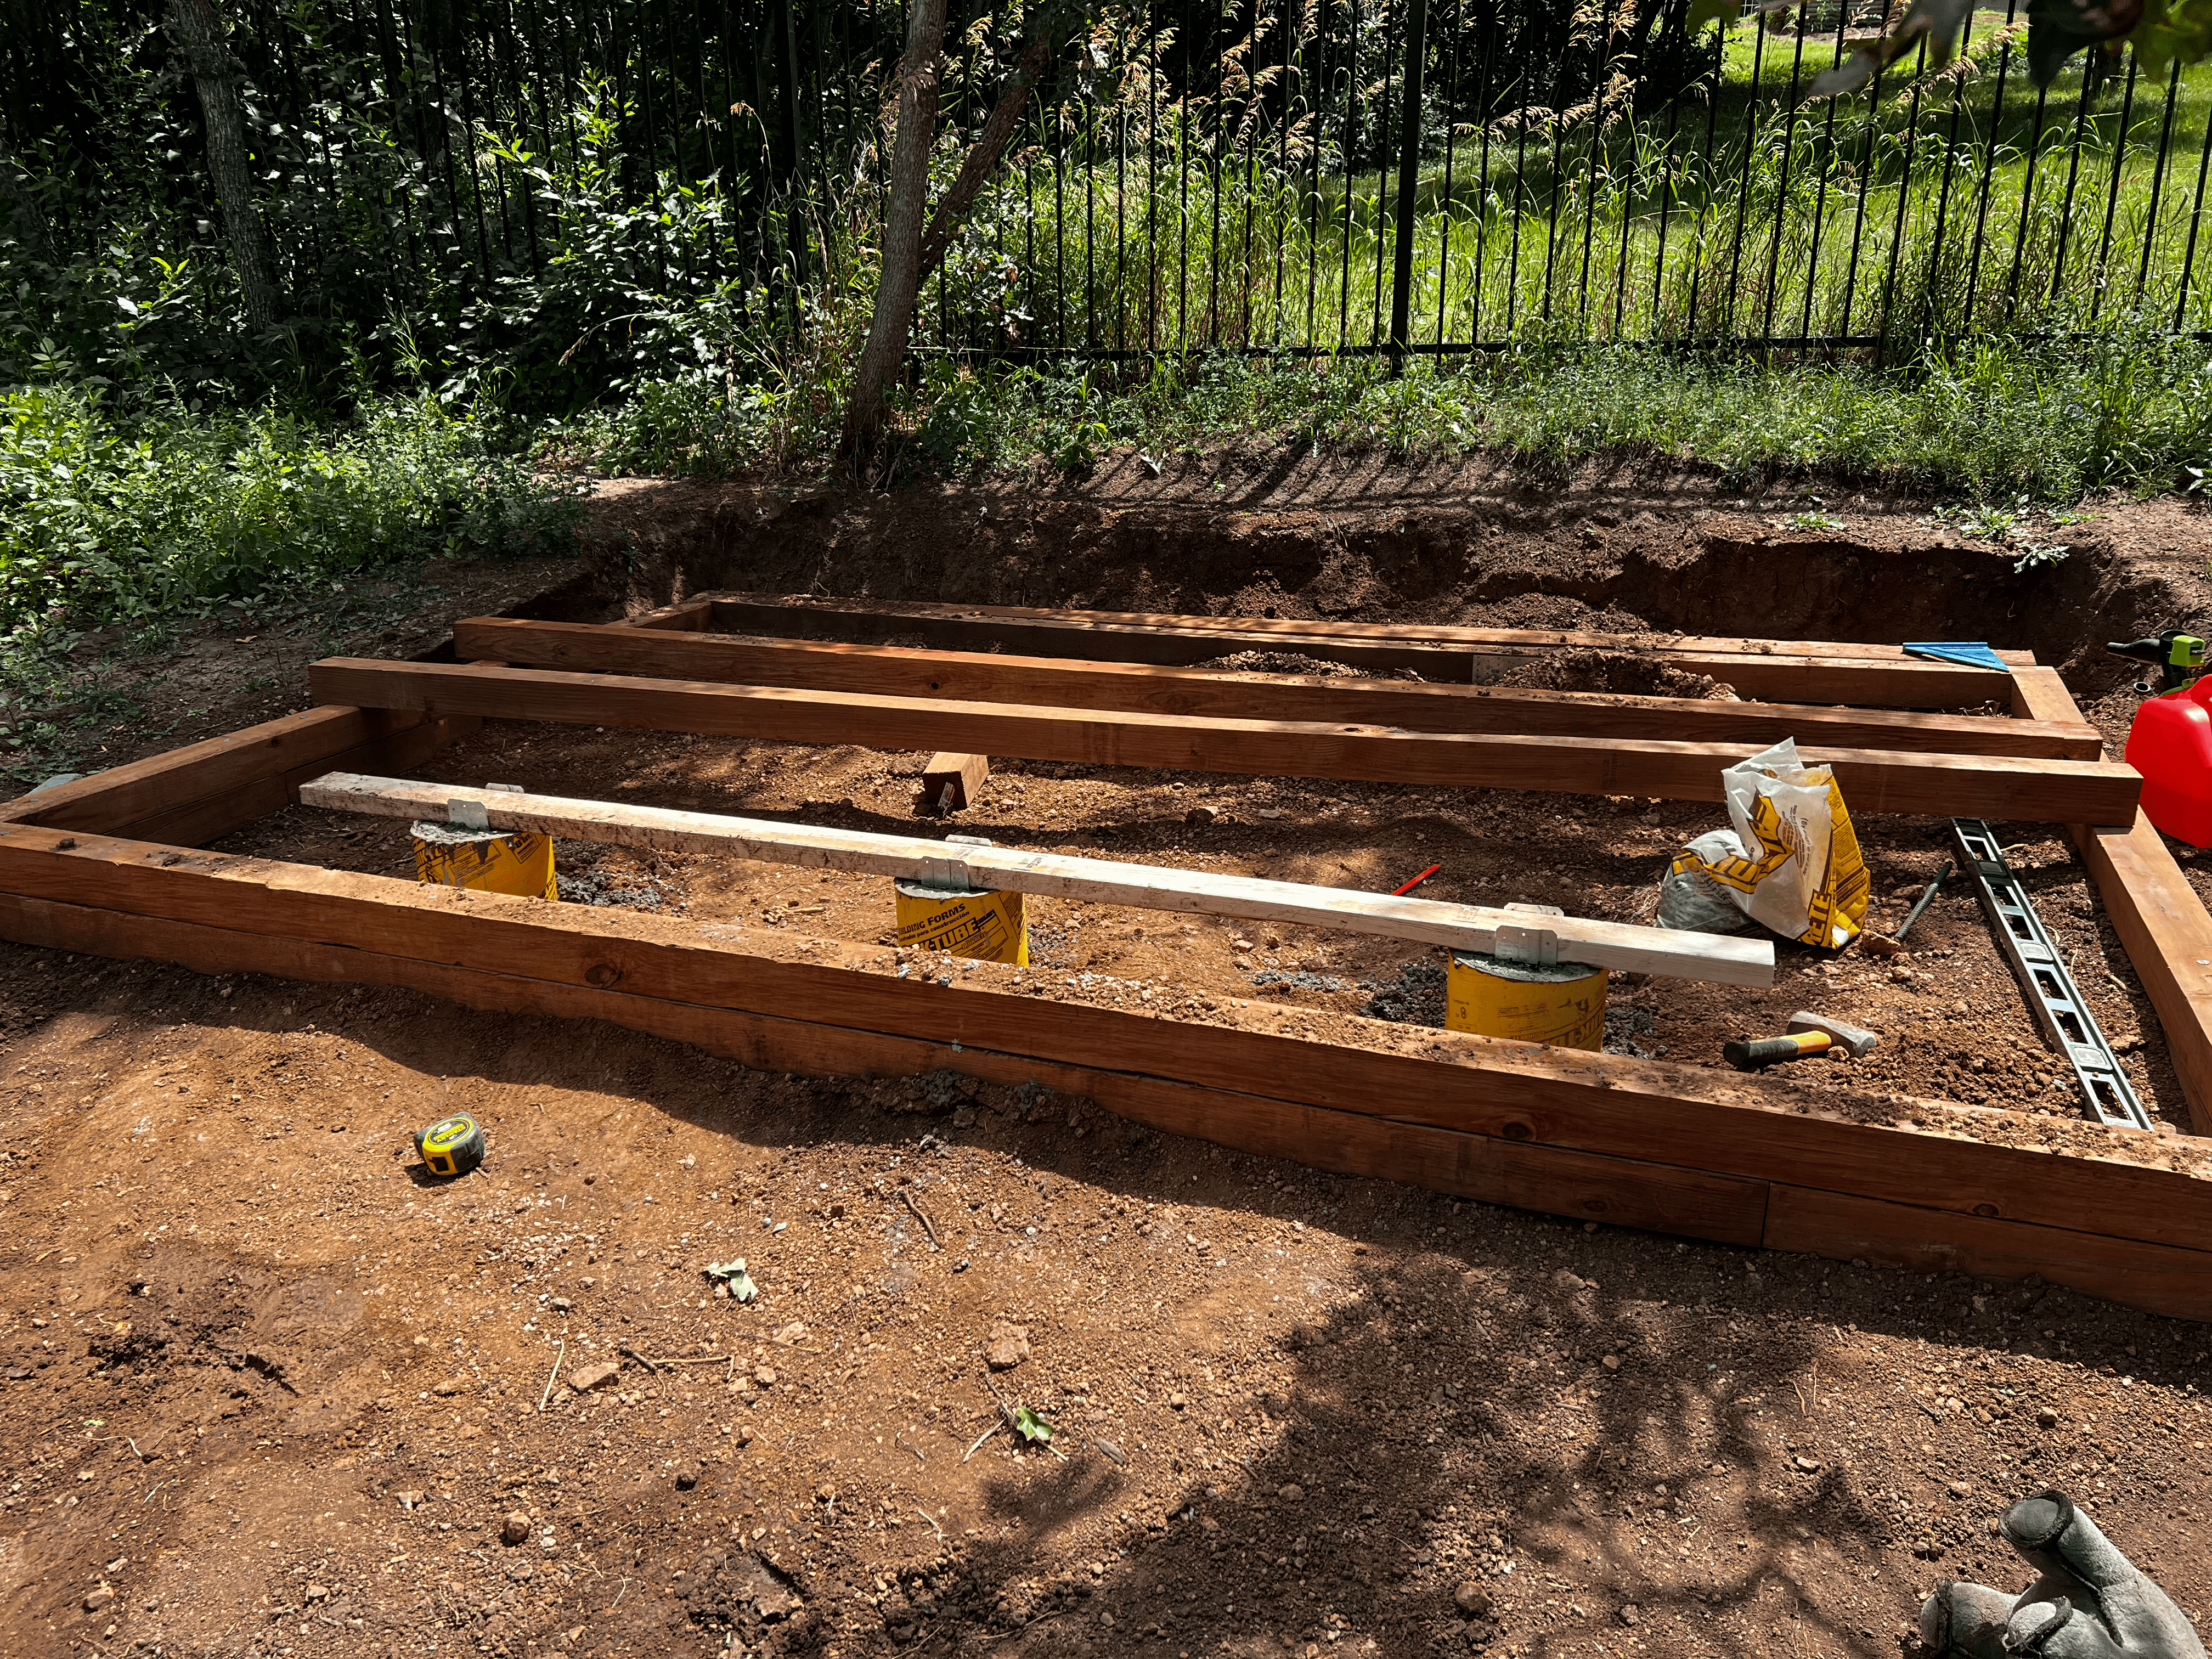
Next up, cement. We went with 8” sonotubes, placing 6 total - 3 in parallel along the longest supports…failing to reinforce the corners. Oh well. I did find a slick way to bring all of my supplies up in the laziest way possible using a skid steer, wheelbarrow, and hopes and prayers.
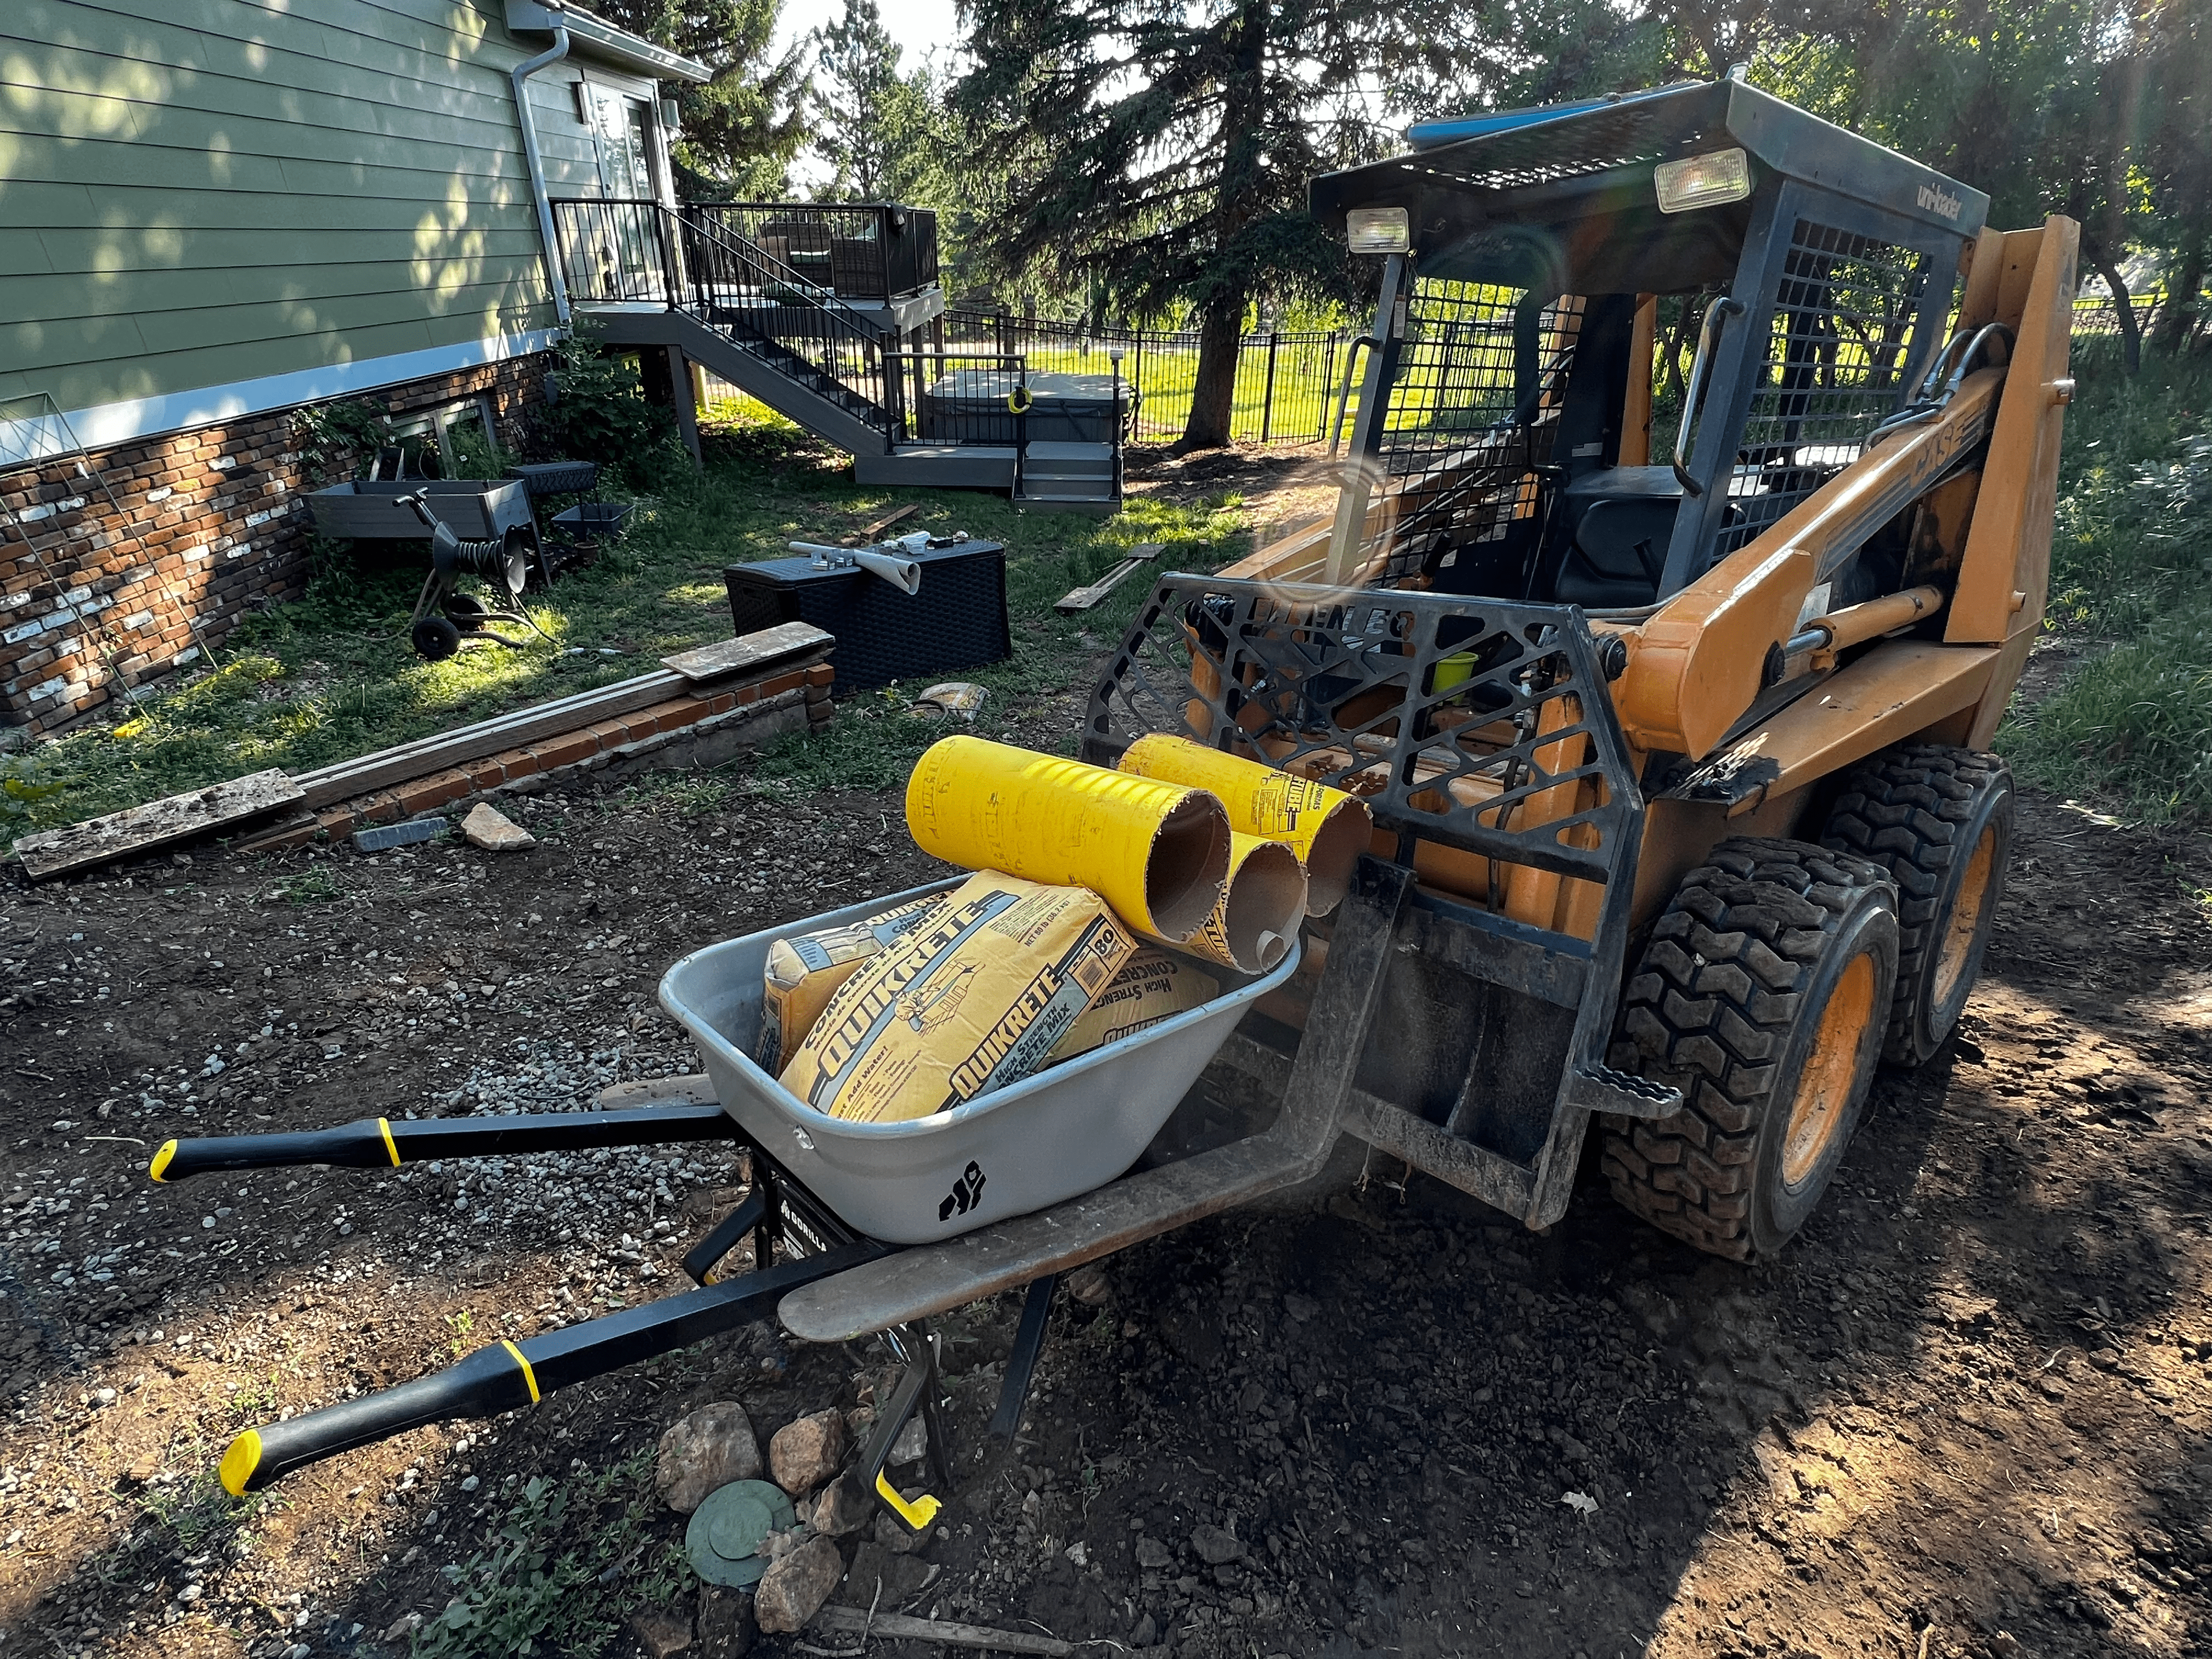
We dug each to at least 3ft where possible, trying to avoid frost heave. Maybe 24” in the back. Maybe.
By the way - just rent an auger. You may think you’ll use it again, but you won’t. The $40 rental fee saves an auger-sized space in your garage. We had a clean pour, added rebar down the middle, and let it cure for 3 days.
After that, gravel! Gravel is essential for drainage and maintaining a dry foundation. In comes the skid steer again to help move 2ish tons of gravel into place. Our lovely friends at SEF Construction and & Landscape added the rest of the gravel and tamped it down for us! We even got a turn delivering a solid pile.
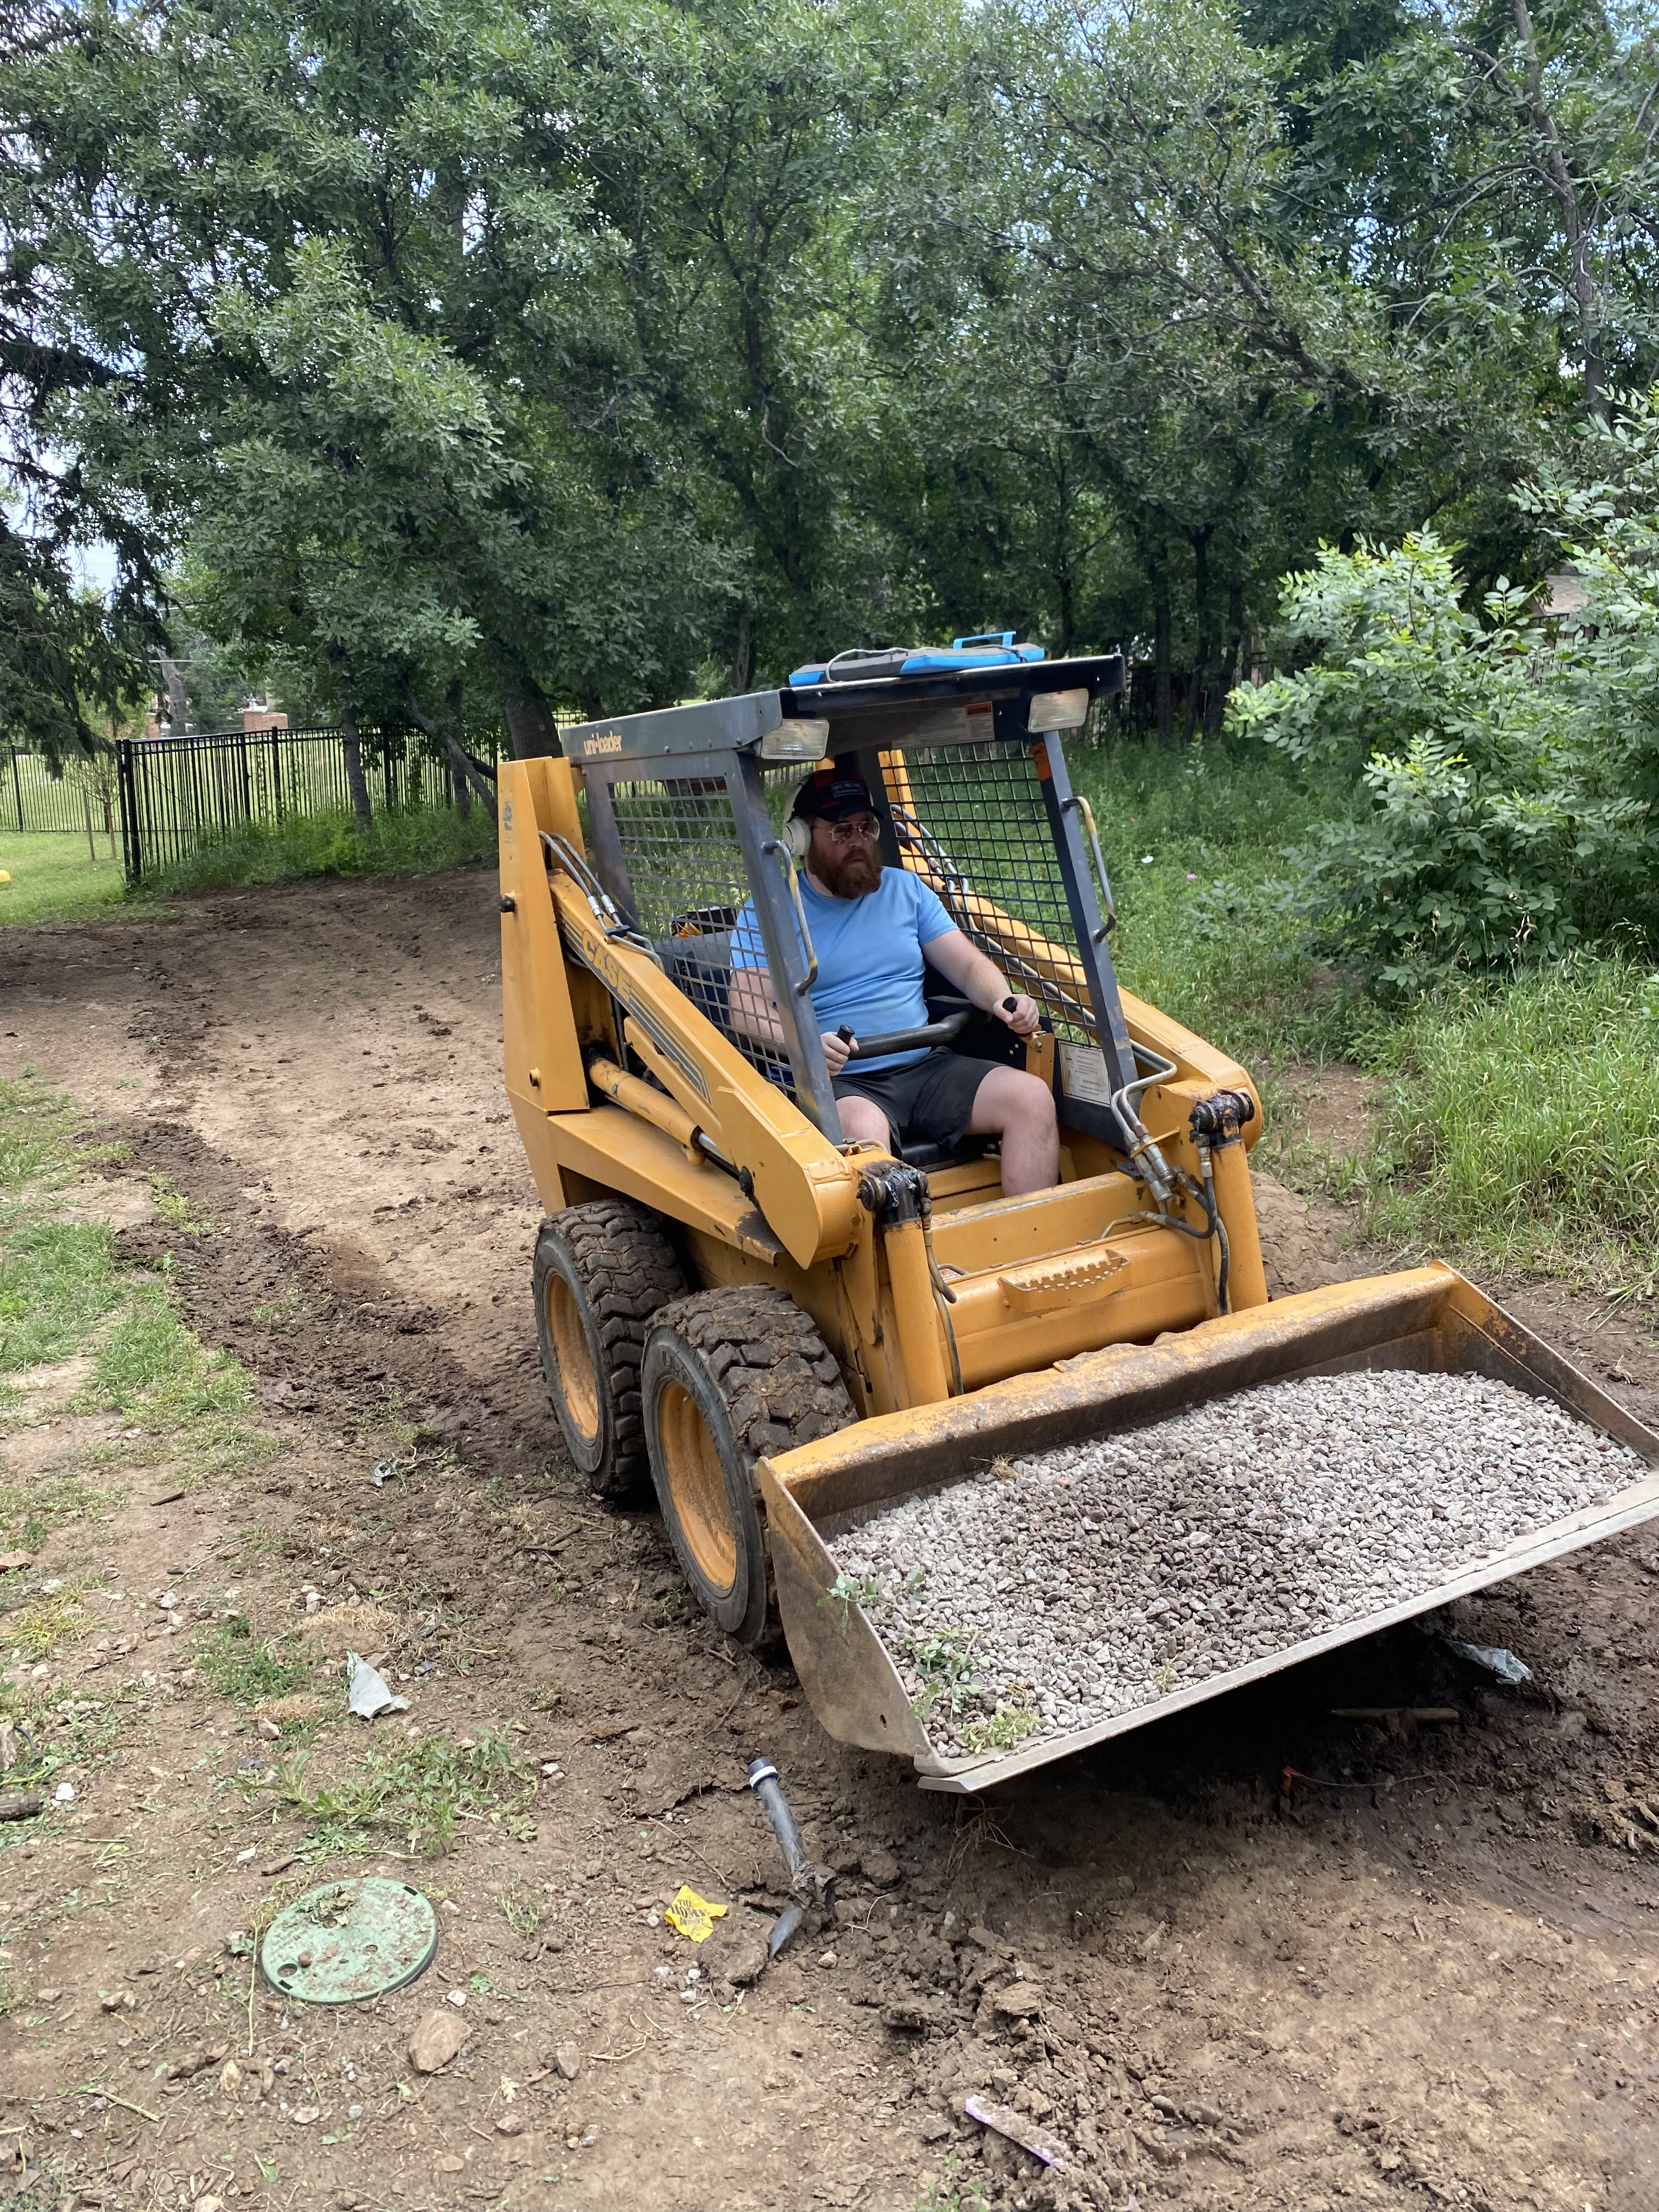
From there, the pad sat for weeks. We traveled, endured a brutally wet Colorado summer, and planned our next moves.

Finally the kit arrived - the Lowes Heartland Coronado. This kit was a perfect mix of size, capacity, and price. The kits are fantastic - everything comes flat packed into a 4ft x 4ft x 8ft pile, and you can just pull pieces off as you need them.
Construction from here followed the book. Floor joists first, then flooring, then framing walls, and finally a full structure. The main benefit of the kits is that everything comes pre-cut - no mismeasured walls or unexpected overlap. As long as you keep the floor square, everything from here works out fine. Sure.
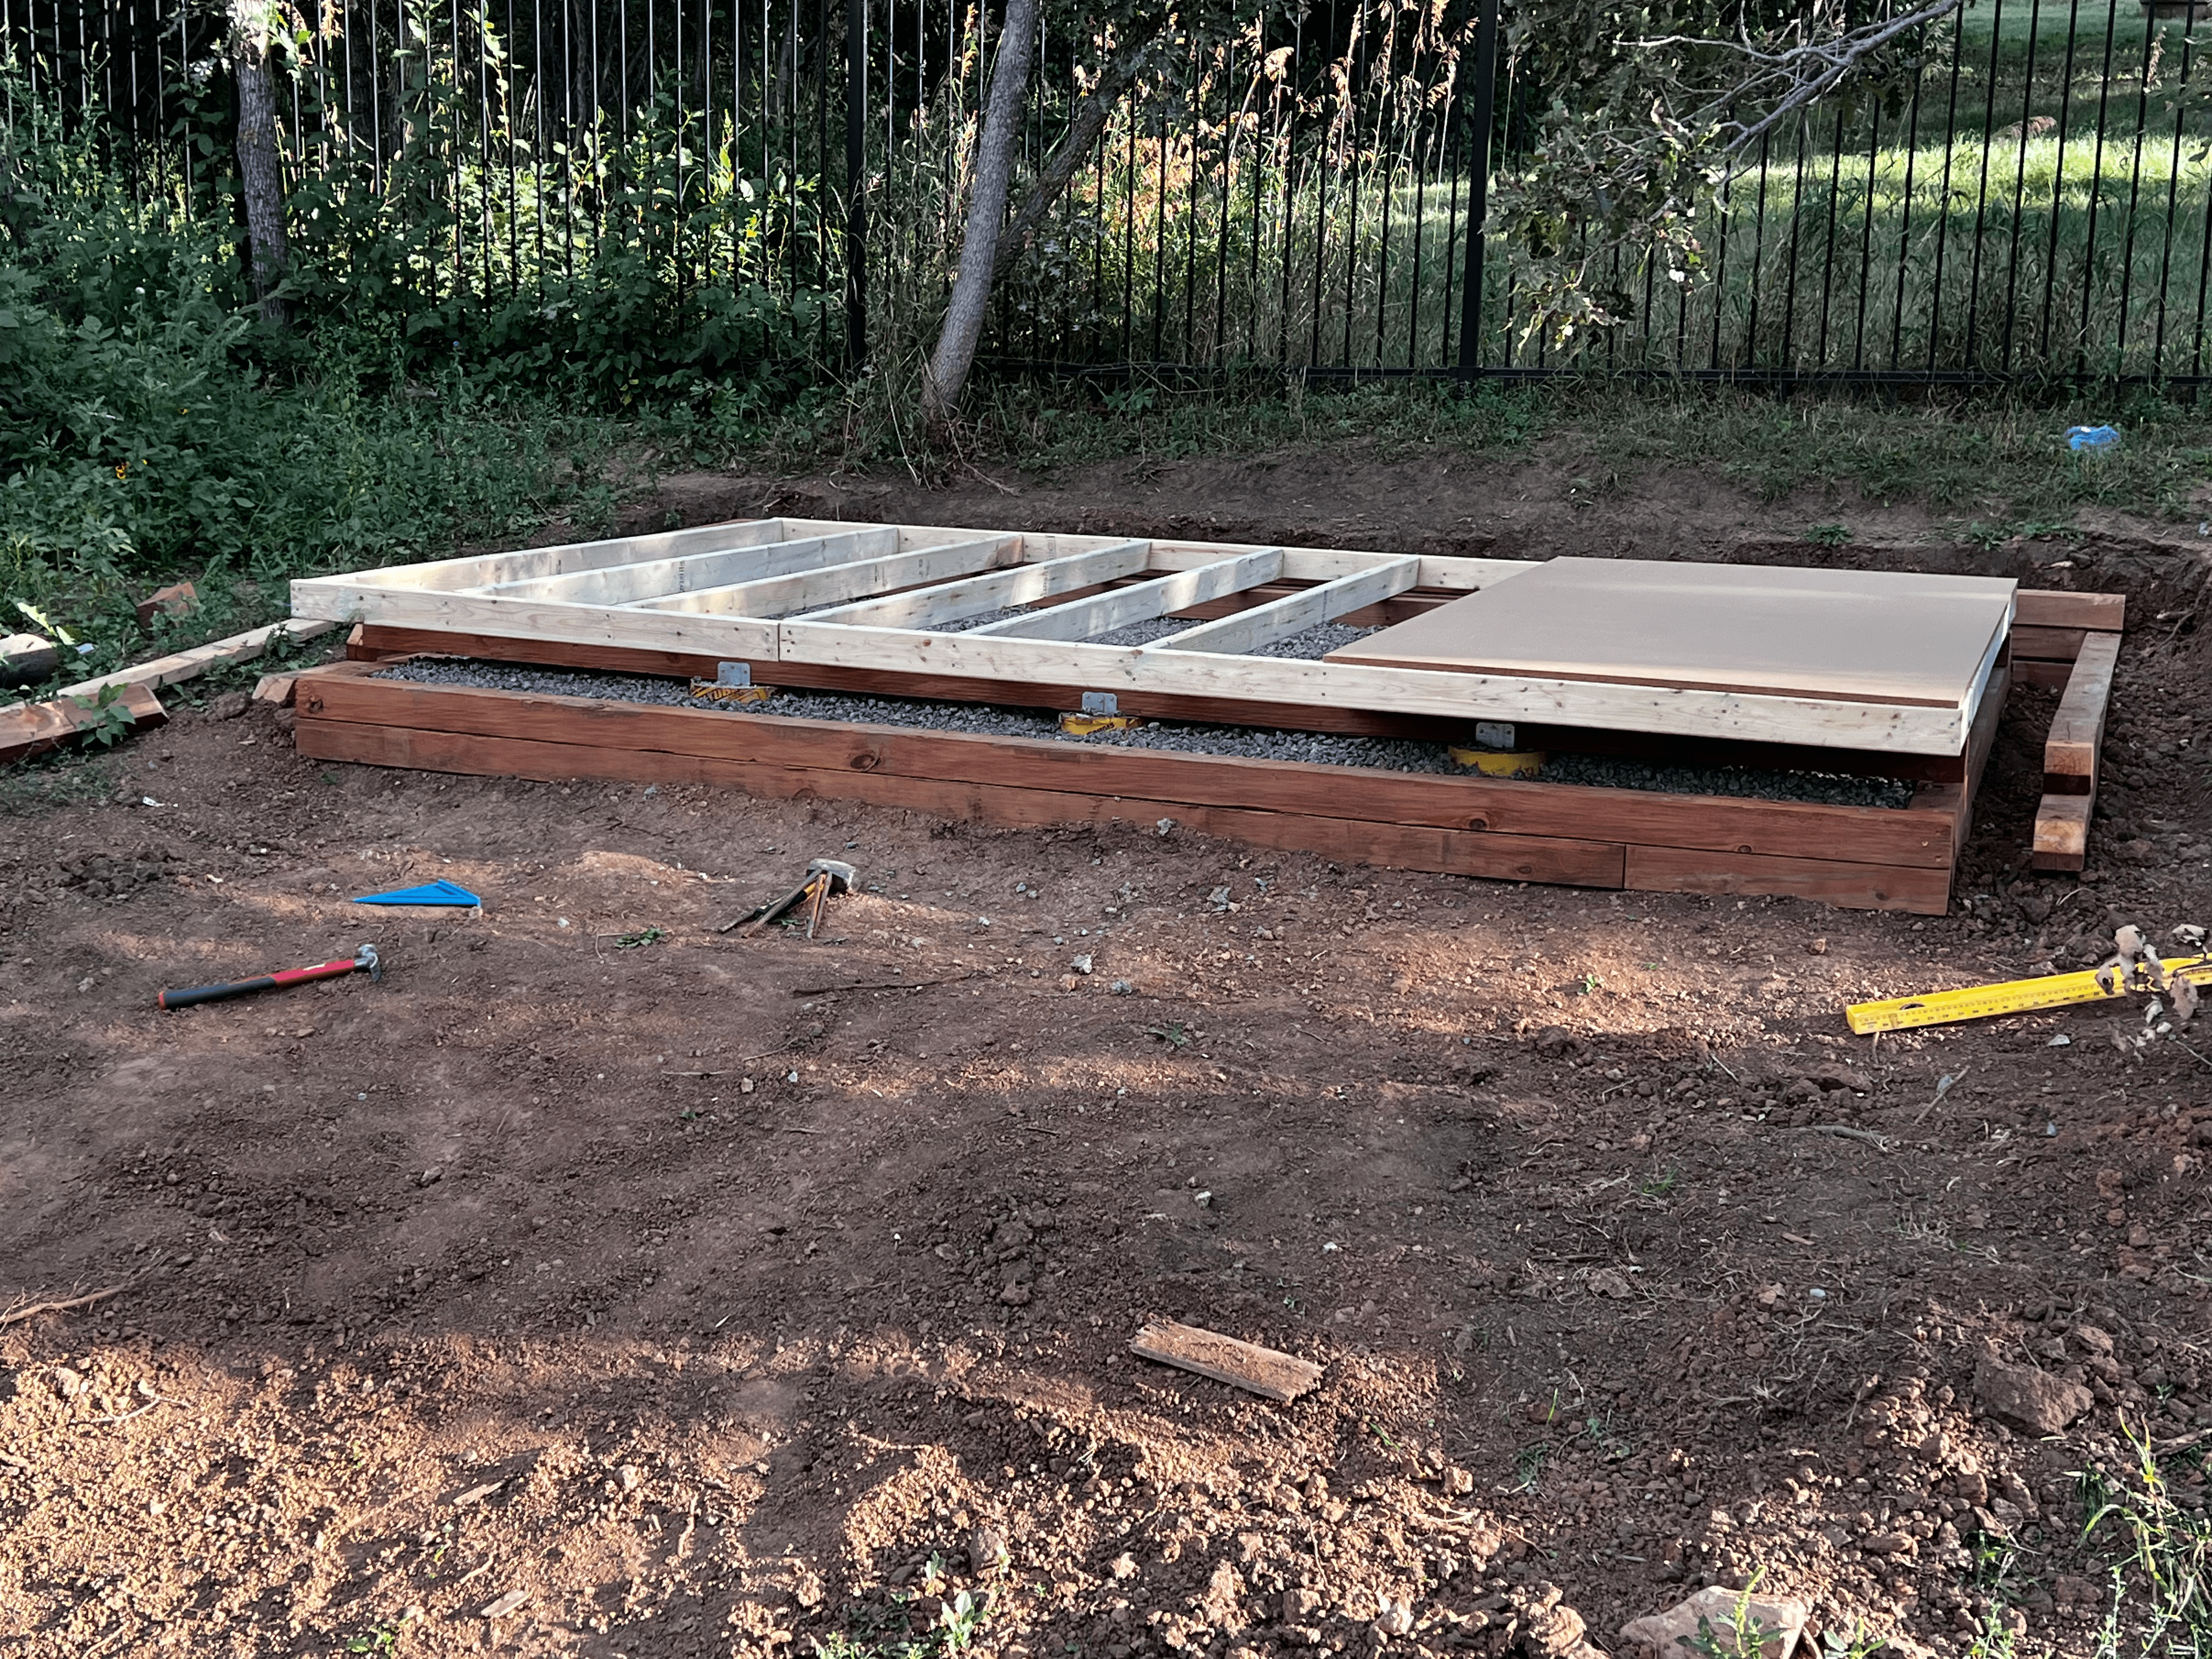
We, of course, did not keep the floor square. A sledgehammer and some creative jigsawing later, we got to square! Walls went up soon after.
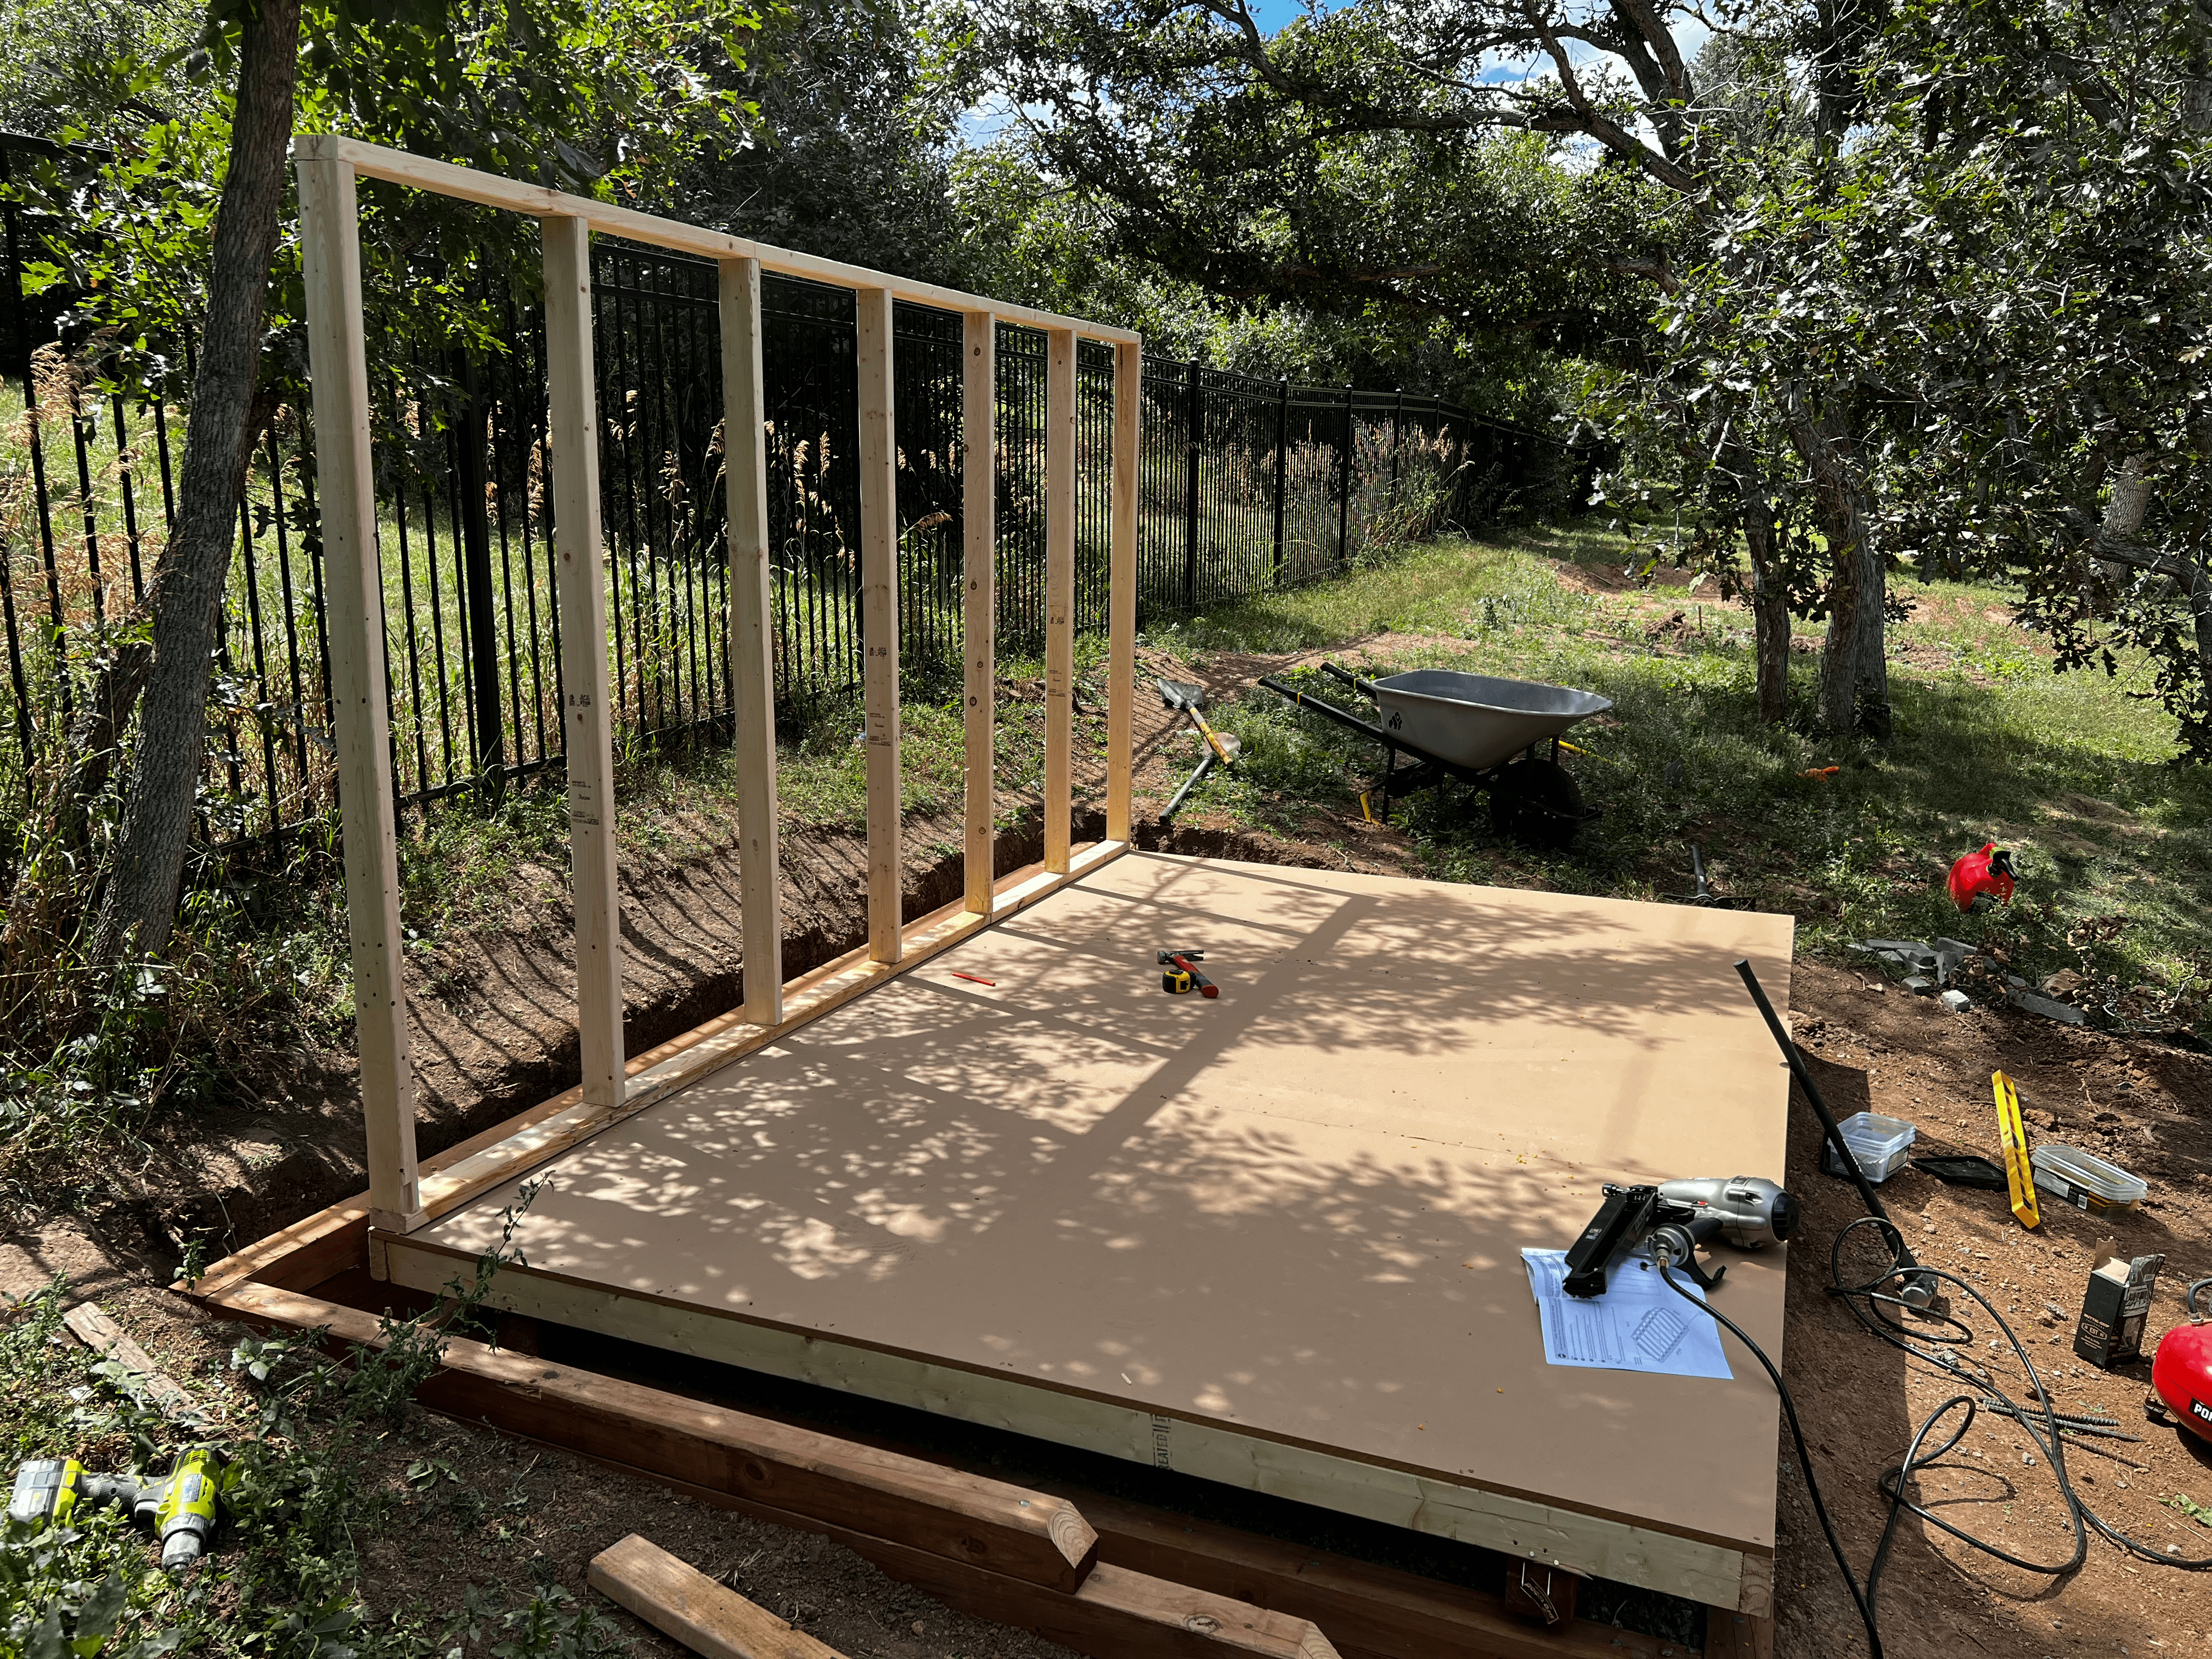
Next, we added the pre-fab OSB siding and squared all of our walls up, and at long last we had something resembling a shed. And then it rained for a week.
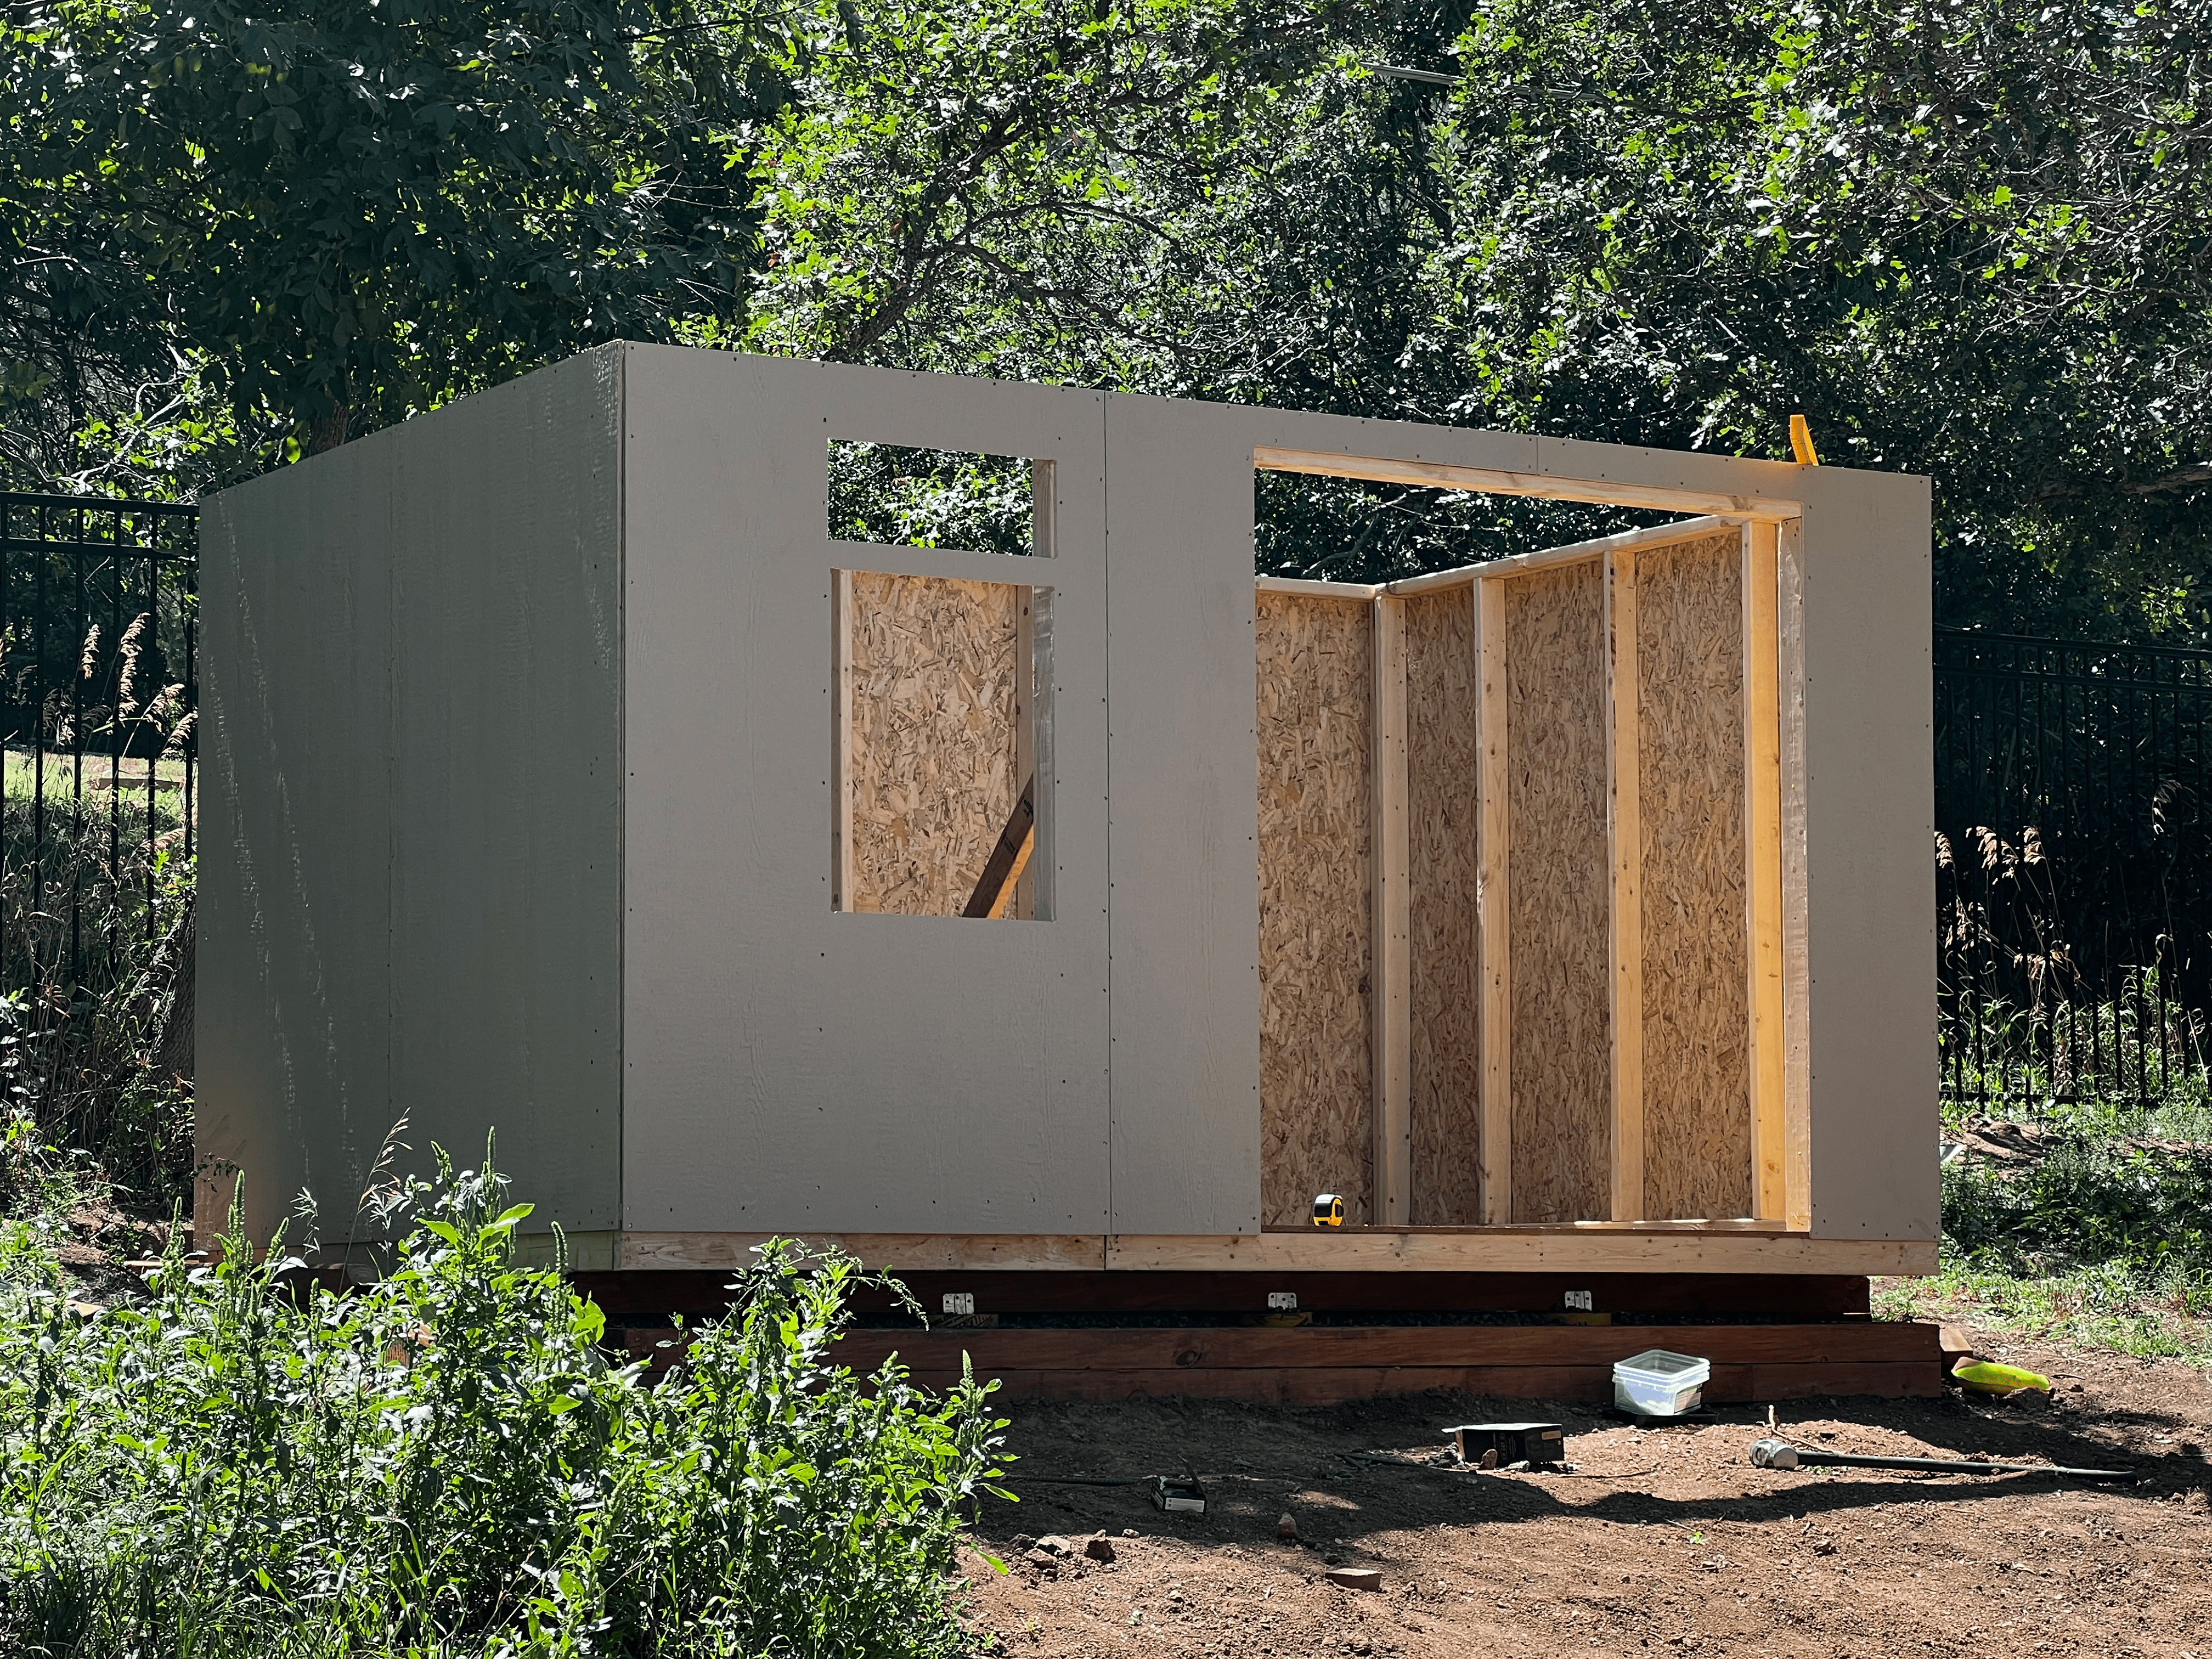
We then threw on trusses, put on the roof planks (slamming nails in as fast as possible during a thunderstorm), added shingles, installed doors and windows, and caulked and painted. But of course that plan was blown up nearly immediately due to some fuzzy window installation instructions. I’ll cut to the chase - the door windows were supposed to be installed on the inside, with glass facing out. I read it the opposite - outside with the trim facing out. What followed was several attempts to do it correctly, with me finally settling on a nicer looking but totally incorrect placement between trim layers. Whatever - paint and caulk fix all wounds. At least shingling is straightforward and predictable - as long as you actually randomly overlap each sheet.
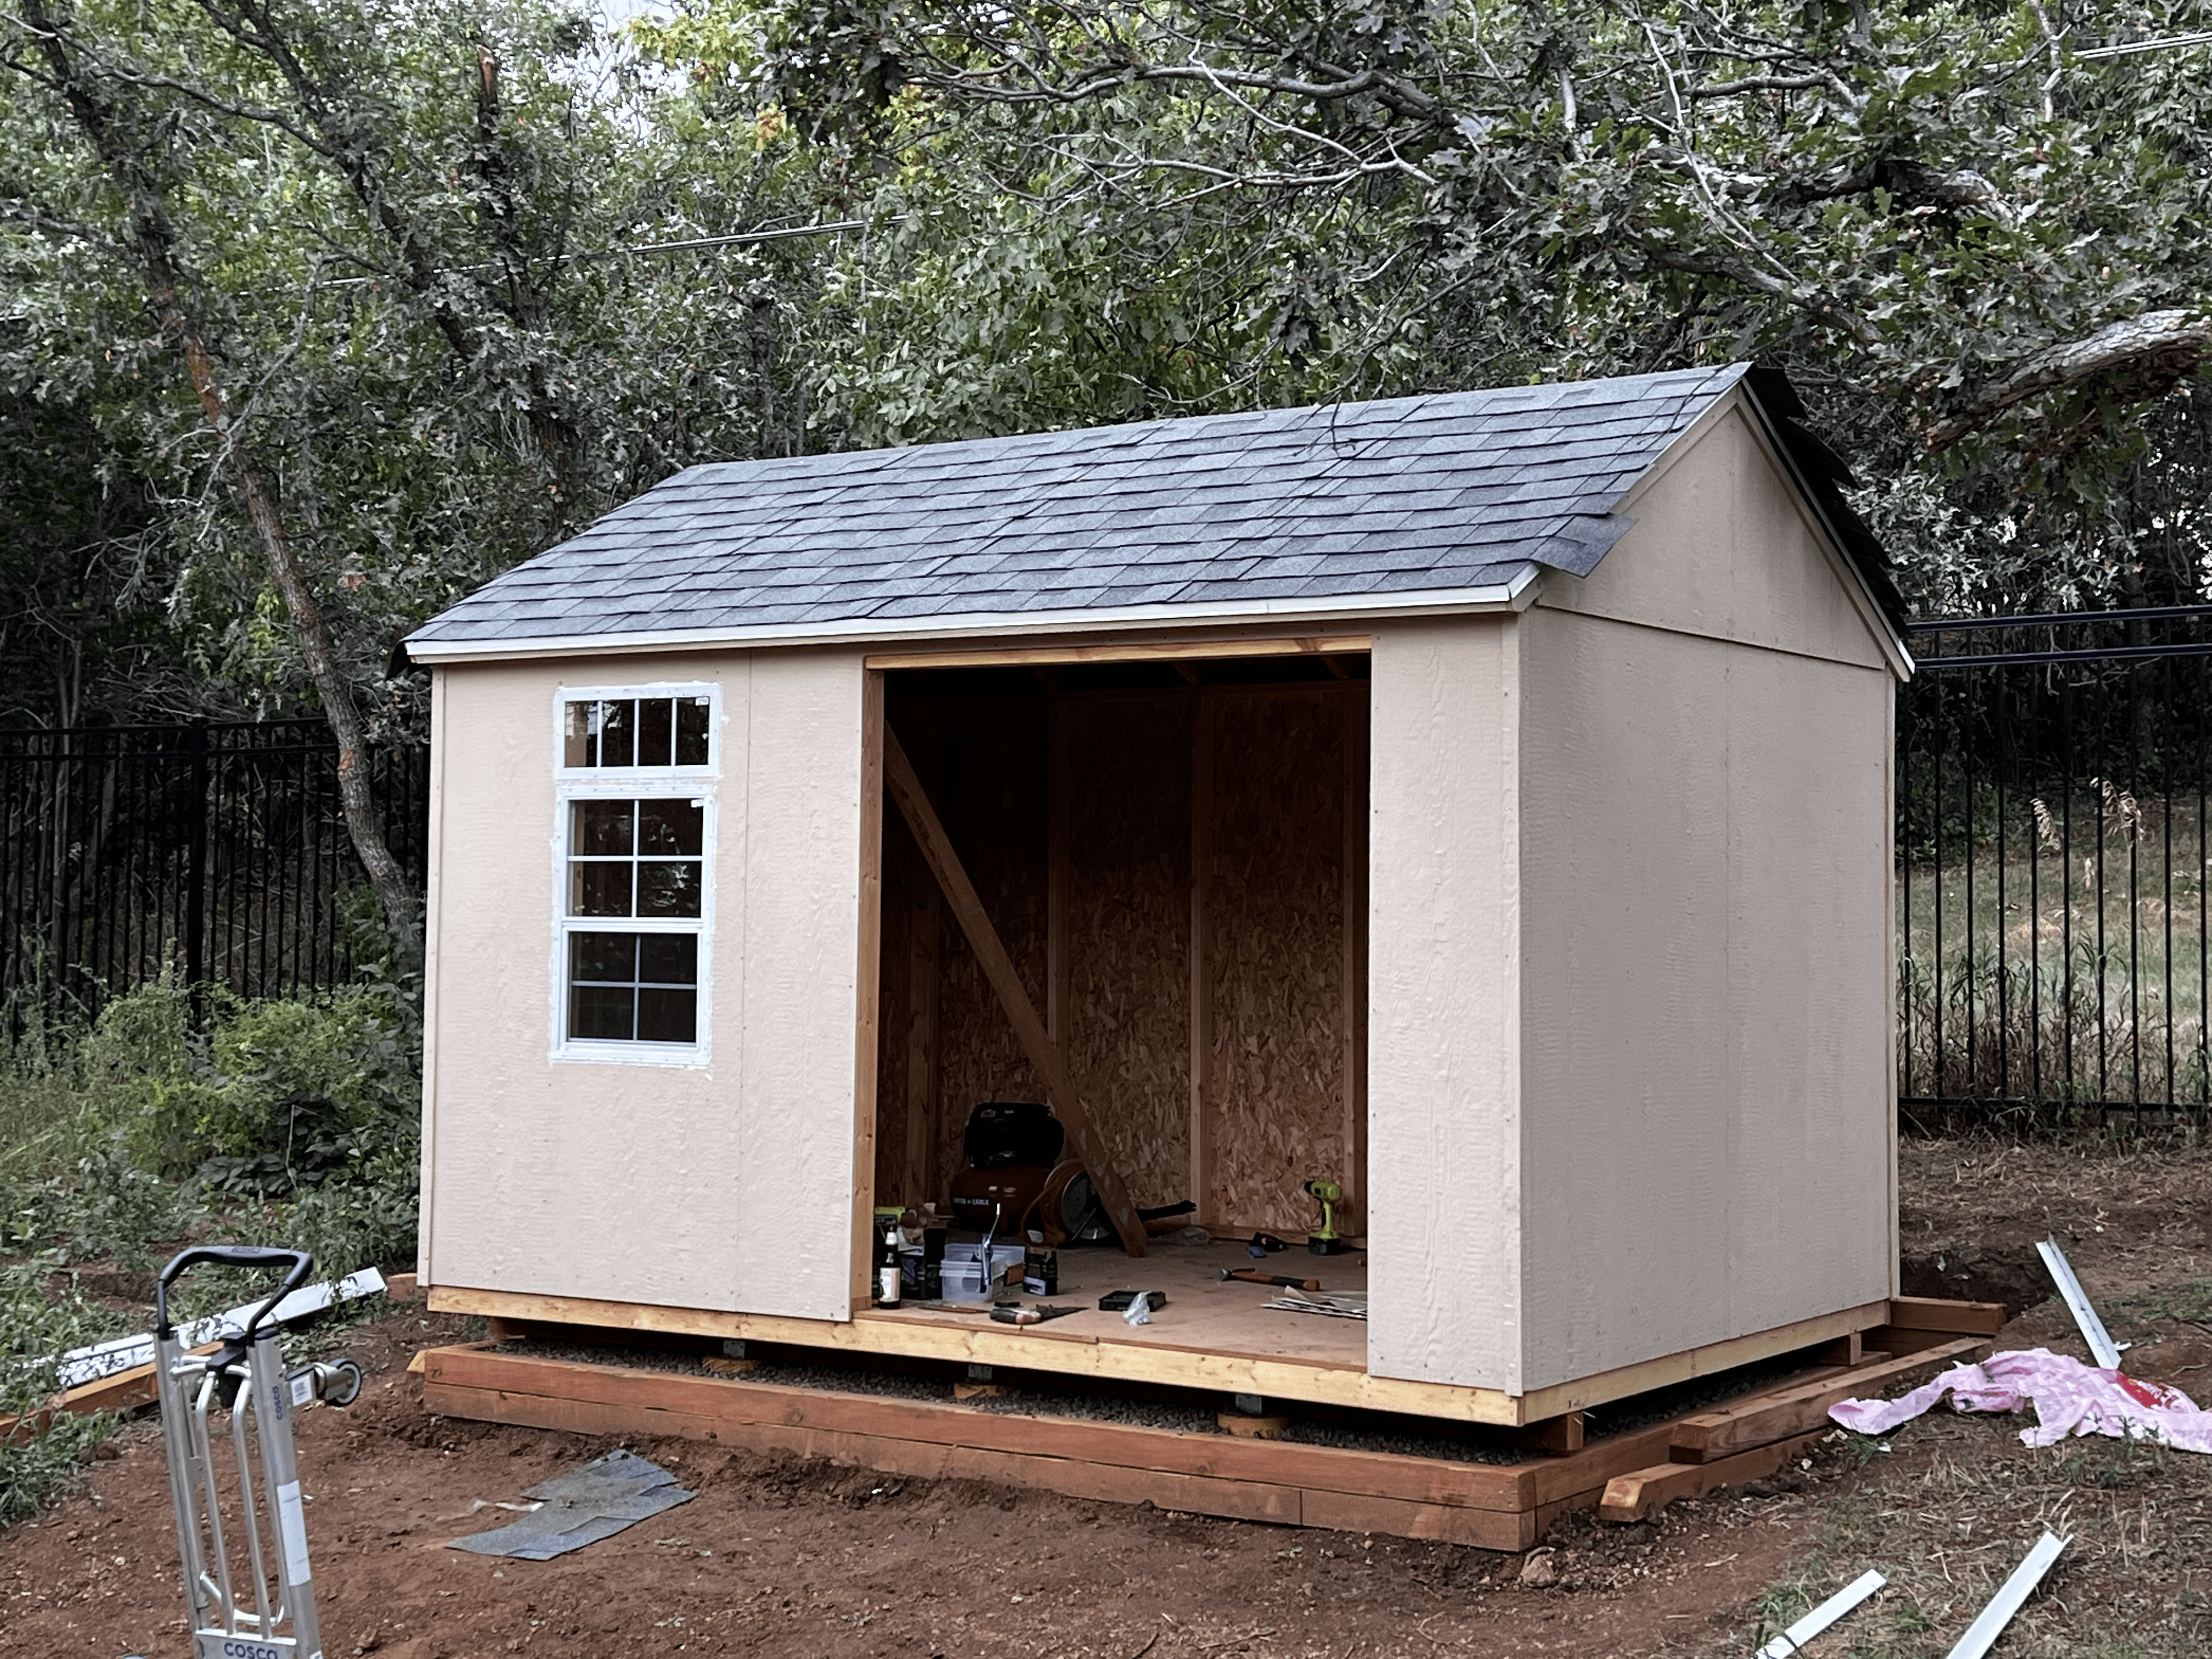
AT LAST we arrived at a viable shed. While more work was needed to hammer in the remaining retaining wall, we had a stable, waterproof, and painted shed ready for storage. And storáge we did - I’m a well known evangelist for the Gladiator Geartrack system and of course lined the shed with Gladiator strips. Our garage is coated in it. Now we have ample storage in the relatively small space, and important items stay off the floor. Go buy it.
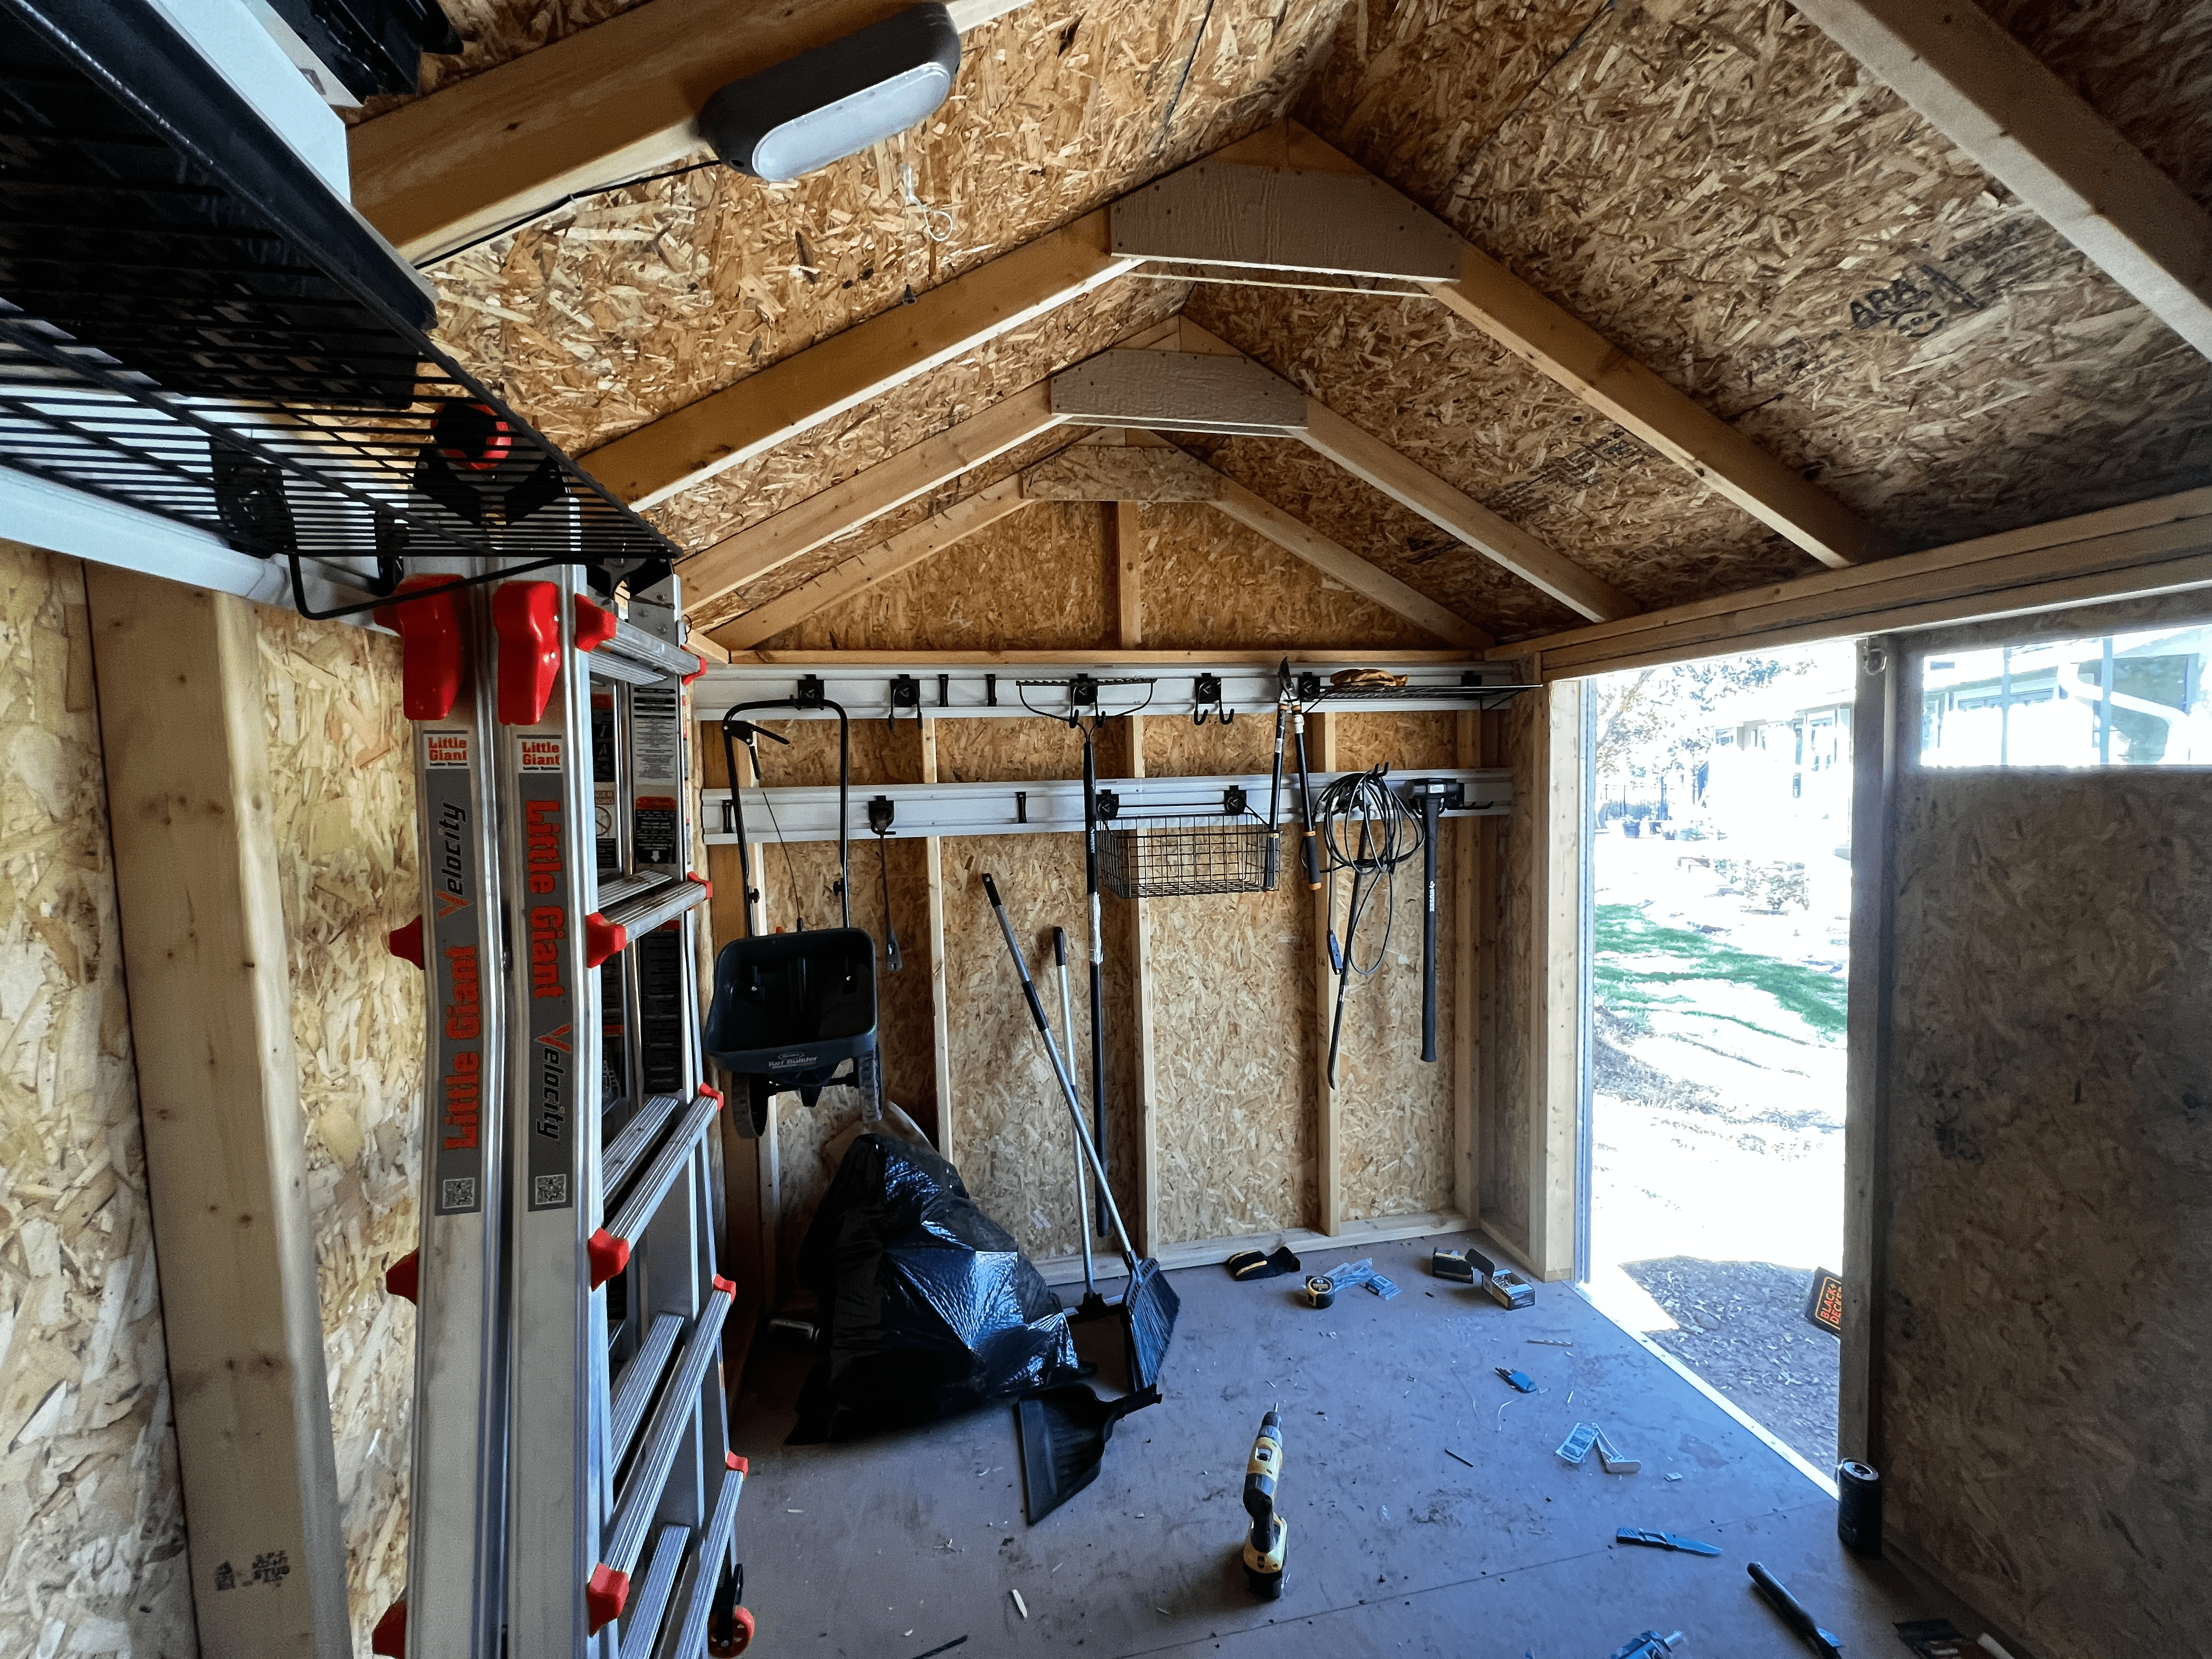
But par for the course, this journey ended abruptly. Literally the day that we finished the shed, the last of a posse of 10(!) skunks moved in underneath. After it sprayed our dogs for the 4th time, we captured and removed it, hammered in hardware cloth, and called it a season.
Viola:

So what did we learn?
- Buy the tools -It doesn’t matter how many times I do a DIY project - without fail, I cheap out on the right tools and later shrug my way into Home Depot to do it right. Just buy the nail guns and air compressors and paint sprayers upfront and get things done faster and with 90% less swearing.
- Mama strong - my amazing wife came in clutch 24/7 to lift, carry, support, and bang in siding nails. Don’t be afraid to ask for help for “1 person” projects and celebrate when your partner in crime gets a chance to use a high-powered nail gun.
- You can’t win it all - despite my best efforts, must haves like gutters proved impossible due to the design of the shed. While I tried, we still have runoff to the front. Sometimes, despite your best efforts buying everything needed to accomplish the plan, the design can bite you. Put down some drain lines and gravel and move on.
- There are no hurricanes in Colorado - Building safely is great, as is ensuring your shed doesn’t fly away in a breeze. That being said, we don’t tend to get hurricane force winds down here, and prepping for this scenario can be overkill.
- Small progress = big outcomes - Heading out each day to knock down a small task like framing a wall didn’t seem like much at the time, but moved us along at a predictable rate. The many times I felt like giving up and hiring out, I was reminded that just the day before, the situation was even more chaotic. Stepping back to realize progress made it possible to take another step and (eventually) get it done.
- Don’t beat yourself up - Am I happy about the gutters and drainage? Is the retaining wall done? Did I line the shingles up as perfectly in the front as I did in the back? Do we need stairs for the doorway? While it’s a solid check back next year to all of these questions, I’m proud of what I learned and what got accomplished, and next time, I’ll come prepared with that knowledge.
I also expect that this shed will outlive us all.