Cooking Essentials: Sous Vide
Cooking Hobbies
How to use science, wizardry, and water baths to nail your next meal
By popular demand (n of 2), here’s a primer on how, when, and why to use sous vide cooking! While expensive upfront and a bit scary at first, you will get hooked on sous vide from the first cook.
Sous Vide: What, Why, and How?
Sous vide is a relatively recent French cooking method that uses vacuum sealing and food immersed in water to create precisely cooked dishes. Chefs seal their ingredients in plastic bags or glass jars, use a sous vide cooker to bring water to a specific temperature, and then submerge the bags in water to cook to an exact result. While this method adds hours to some recipes, the results can be dramatic.
Sous vide works because water is an extremely good stable conductor of heat, and can hold a specific temperature in a very steady range as look as the heating element is stable. When food is entirely emerged in this water, it is evenly heated from all sides up to the same temperature as the water. The sous vide cooker constantly circulates the water while heating it to an exact temperature, eliminating temperature gradients.
Sous vide makes the most sense when compared to an oven. Air is a lesser quality conductor of heat, and ovens can fluctuate between a wide range of temperatures during cooking. What results is food that isn’t consistent or predictable for the home chef, and meals that can vary widely each cook. With sous vide, two of the most critical elements of cooking - time and temperature - can be controlled in ways that an oven generally cannot without variations. And because the food is cooked in a vacuum sealed bag, it generally keeps the same texture and stays extremely juicy.
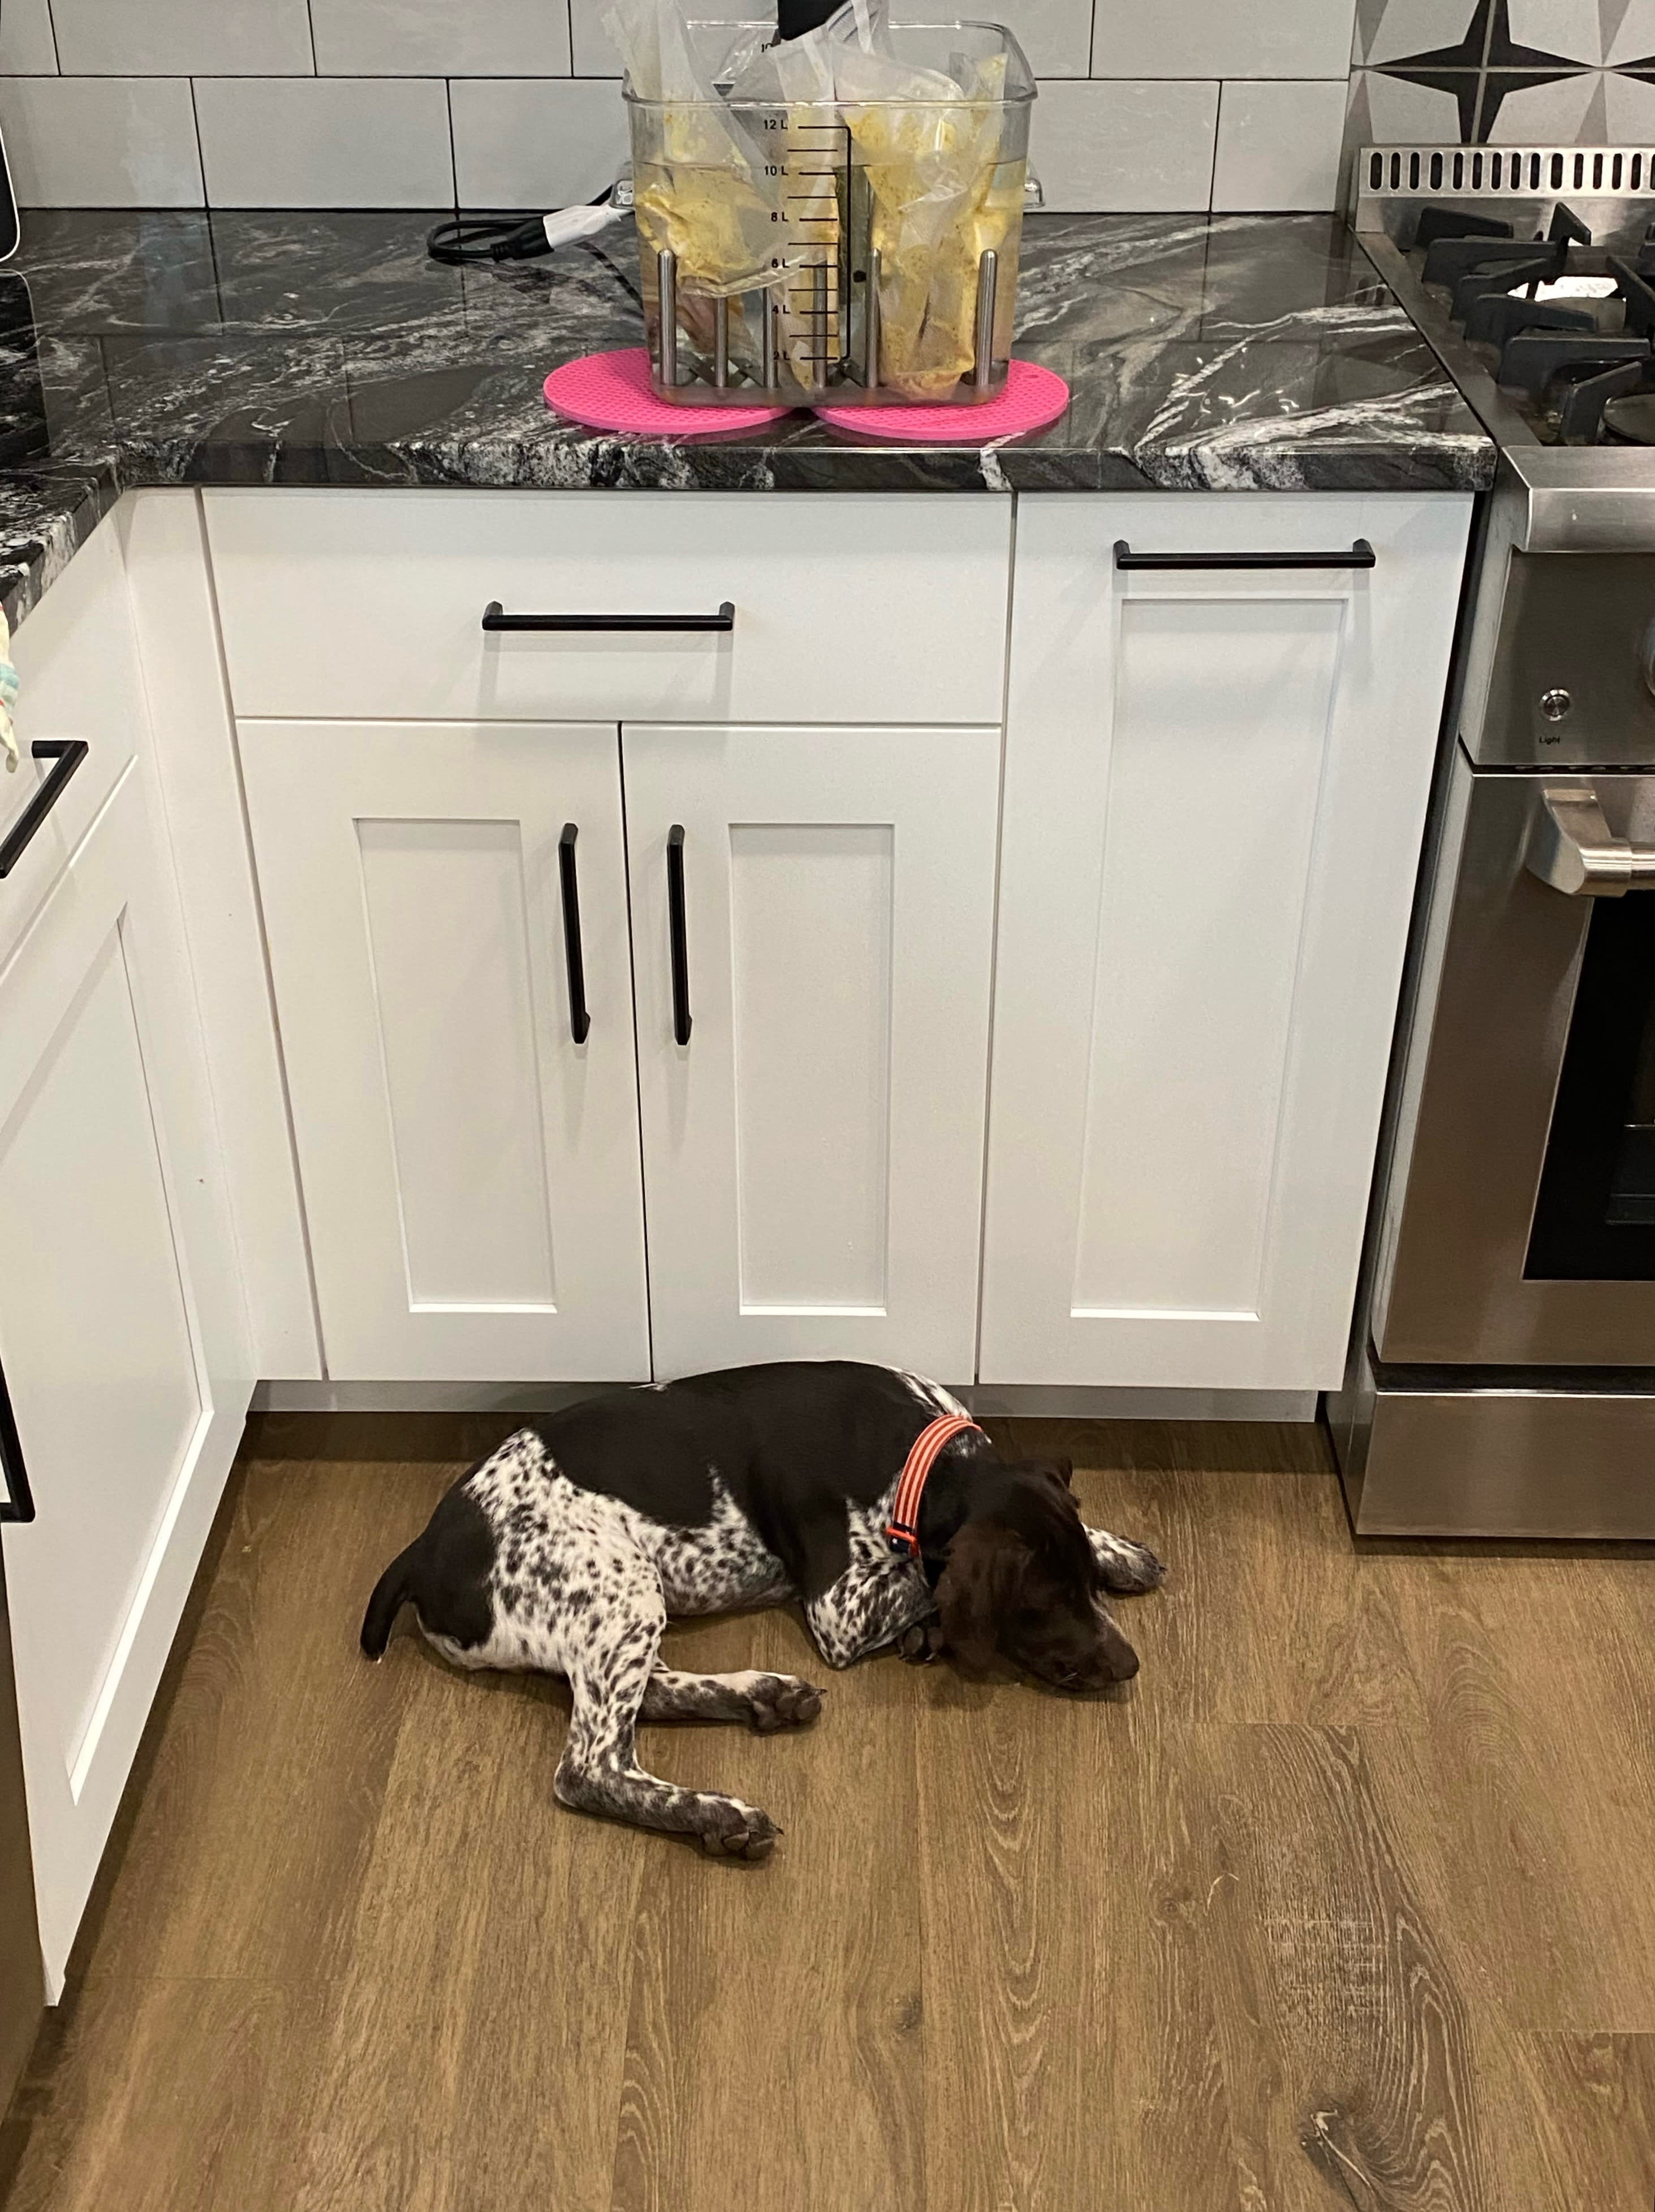
Sous vide can be used for anything from short (1-2 hour) cooks to multi-day recipes. Generally, the method does require more time than other approaches, because it uses lower temperatures than normal cooking to prepare food. However, this time is mitigated by the fact that - like a slow cooker - you can prep and start cooking your food hours before dinner, and simply sear off or serve food whenever you choose. In some cases, as with meat, sous vide can even let you decide the texture and tenderness you want simply by cooking for longer or at different temperatures.
If you’re like me, your head is probably jumping immediately to steak, and for good reason. There are a ton of very valid and delicious ways to cook steak, but sous vide’s unique benefits mean that using this method yields extremely predictable, juicy, and perfectly cooked steak literally every time. A sous vide steak can be seasoned like normal, cooked for 1-2 hours, and then get seared off an extremely hot pan, and turn out restaurant quality with a tiny bit of effort.
You can take the same concept and even (safely) push the limits of normal cooking for other meats. We all know that meats like pork need to be cooked to 145°F to be considered USDA safe, and take that temperature as gospel. However, that same level of cooking destroys much of the flavor and tenderness of pork. What people often miss with USDA recommendations is that the target temperature is the “instant kill” point for bacteria. Each type and cut of meat actually has a table that allows you to determine how long it needs to be at a specific temperature to eliminate bacteria (here’s an example for chicken), meaning that sous vide is an ideal way to keep a specific cut at a specific temperature until it is safe. I’m not a lawyer, and I’m not responsible for how you cook - just know that I cook pork to 133°F max for the right amount of time and it opens up an entirely new world of flavor and texture that will make you rethink what you know.
Essential Equipment
If you are totally new to sous vide (i.e. you have NO equipment or experience), I recommend you start with the out of the box tools offered by Anova. There are other brands and other ways to get the job done, and even incredibly cheap versions that use pots you already have. However, this package takes the guesswork out of getting started.
Expect to spend around $150 with this approach. If you’re lucky, places like Costco offer an all in one bundle for around $125.
- Anova Nano - Anova offers a range of models including a Pro model for continuous/heavy duty use, but for most people, a Nano is fine!
- Anova 12L container - just the right volume for regular home use and comes with a lid that fits around the Nano and other models. This makes for a nearly all in one kit that’s pretty solid for most people.
For those who prefer more flexibility in their cooking, I recommend adding in some other tools. This combines some out of the box items with unique tools to give you full flexibility.
- Anova Classic - this is the OG model and is an absolute workhorse. It’s middle of the road in power, heats up very fast, and offers Bluetooth or Wi-fi if you want it. It also is small enough to fit most any container.
- Rubbermaid 12Q Container - simply the most useful thing in your kitchen and essential for more DIY style sous vide. These containers are designed to hold a large volume of water in a really useful shape, and can easily hold 8-10 steaks. They can handle up to 212°F, covering essentially any recipe you’re going to do with sous vide. And they make for excellent plant waterers or prep containers for other meals.
- IKEA Pot Lid Organizer - $8 gets you a rack that you can set in the water to help hold and separate your food! There are plenty of fancier alternatives that do the same job, but I’ve had this one for 10 years and it has served me incredibly well.
- Clothespins - cheap wood clothespins do a great job holding bags to the side of your container, preventing drift.
- Thermapen One - the best instant read cooking thermometer and an essential for the rest of the cook. You can trust your cooker for the sous vide portion, but the Thermapen is invaluable for hitting the right temperatures for everything else.
Cookware is also important for many sous vide meals that require a hot sear. Using a cast iron pan or similar cookware that can survive very hot searing is essential to getting a perfect finished product. Using cookware that cannot get hot enough - or underheating your pan - means more time to get a sear and more internal cooking, ruining the benefits of sous vide.
Last, and most certainly not least, I highly recommend that you get a good vacuum sealer. This is not essential - using Ziploc bags with the water displacement method does a pretty good job of prepping food for sous vide. I guarantee, however, that you will find this method tedious, failure prone, and inflexible, and will put a vacuum sealer in your cart before long.
For vacuum sealers, I’ve always liked Foodsaver as a tried and proven sealer for a huge range of uses including sous vide. The best part is that a great model is nearly always on sale at Costco (just like this). Even better, Costco sells generic Foodsaver-style bag rolls that allow you to cut your own bags to the size you need for far cheaper. Both go on sale constantly.
You may be noticing a theme - sous vide is prohibitively expensive upfront. You can save money by just getting a sous vide cooker like the Nano and using a large stock-sized pot that you already have. I definitely recommend starting here if you are really passionate about the method and want to stay on a budget, but if you intend to cook this way more than a few times a month, invest in better equipment built for the job.
The Basics
Feel free to skip ahead and just grab a copy of The Food Lab (or skim the same content here). Kenji López-Alt is a true pioneer of sous vide and other cooking methods, and is responsible for a majority of the great recipes you’ll find in the Anova app.
Like above, I will use steak (and sometimes pork) as an example of how to cook using sous vide. Just keep in mind that this method is insanely flexible. I’ve seen recipes that involve any protein you can think of and extend even to complex dishes like butter chicken, egg bites, and ice cream.
Step 1: Pick Your Steaks
The right cut, grade, and thickness of steak is a matter of personal preference. Just kidding - there’s a right and wrong answer! For most people, you’re going to want a thick cut (1.5” is the norm) of Choice or Prime ribeye or New York Strip. No slight to other cuts like sirloin or filet mignon - ribeye and strip just tend to be easier to find, less expensive, and more forgiving than other cuts.
You’re going to want a steak with nice marbling, meaning a good pattern of fat running through the meat. Think of a marble slab - you have a mix of black/gray seams randomly running through the white marble. Too many seams make the marble look chaotic, while too little make it look uninteresting. The same is true of meat but for different reasons - too much white fat (seams) cam lead to a fattier and overly rich steeak, while too much red meat cam result in a leaner, less flavorful steak. When in doubt, ask your butcher.
I personally stray away from most purely grass-fed beef. This is also a matter of personal preference, and there are well-known ethical and environmental reasons to only go grass fed. However, “you are what you eat,” and grass fed beef tends to be very lean with poor marbling, sometimes resulting in a subpar steak. I prefer beef that is grain-fed or “corn finished,” meaning that the cow consumes grain and other foods alongside pasturing in grass before slaughter. The result is a cut that is generally the perfect mix of fat and lean, with great marbling. This is not a universal rule and plenty of grass-fed beef tastes great.

Why Choice or Prime? Generally, these cuts are likely to better achieve the balance of fat and lean more reliably and thus taste better. This isn’t set in stone - these grades are assigned for the whole cow before full butchering, and various cuts will have varying levels of quality. This is why using your eyes and your gut as you learn is so important - based on your tastes, a Choice cut may look and taste better than Prime - at a steep discount.
Step 2: Prep Your Workspace
Take your steaks out of the fridge and leave them on the counter while you prep.
To start, you need to get your sous vide workspace ready. Depending on your equipment, you need at a minimum a solid spot of counter space near an outlet. You also generally want to use a trivet or heat pad underneath your container.
Next, assemble your cooker. Most will have a hoop looking cradle mechanism that screws onto the wall of your container and allows you to set the cooker into the cradle.
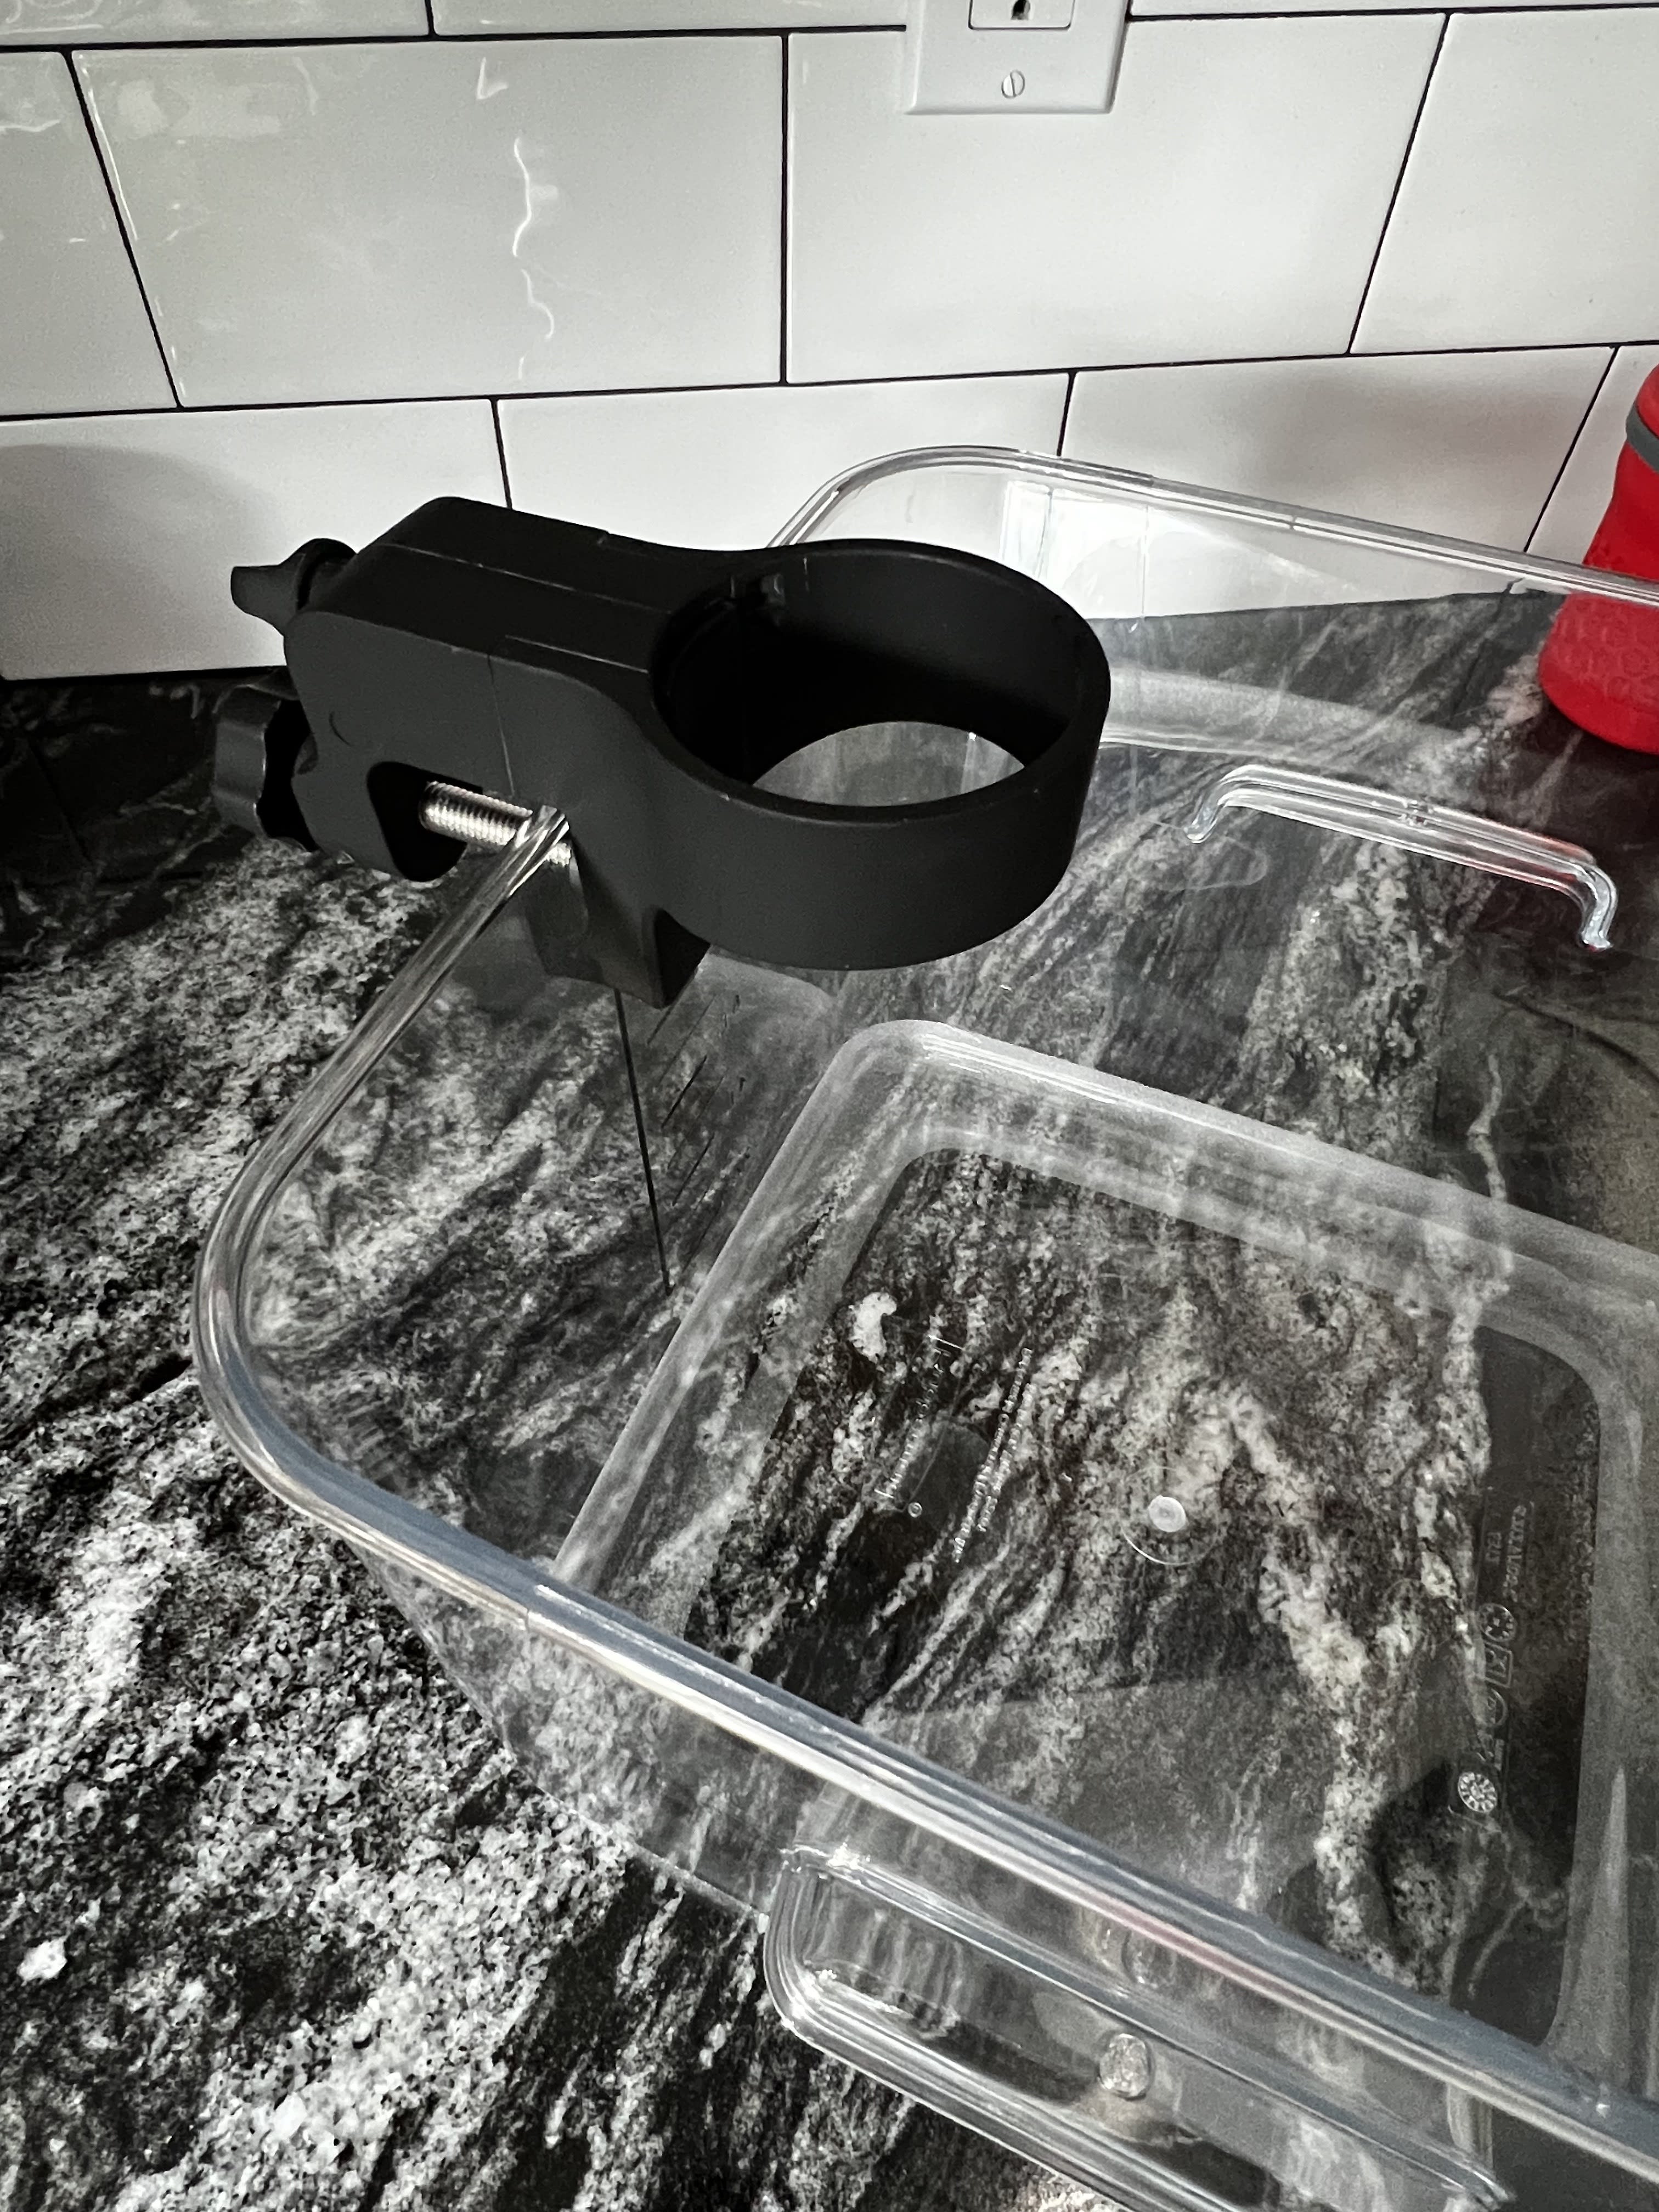
After assembly, fill your container with enough water to fully immerse your food. If you’re using the Rubbermaid containers above, I generally aim for 9L of water. For other containers, compare the height of your food when laid horizontally in the container and add a bit more water above that height. The main thing to keep in mind is that you want the food fully immersed while not exceeding the maximum water depth of your sous vide cooker (it’ll usually be marked with a line amd the word MAX on the device).
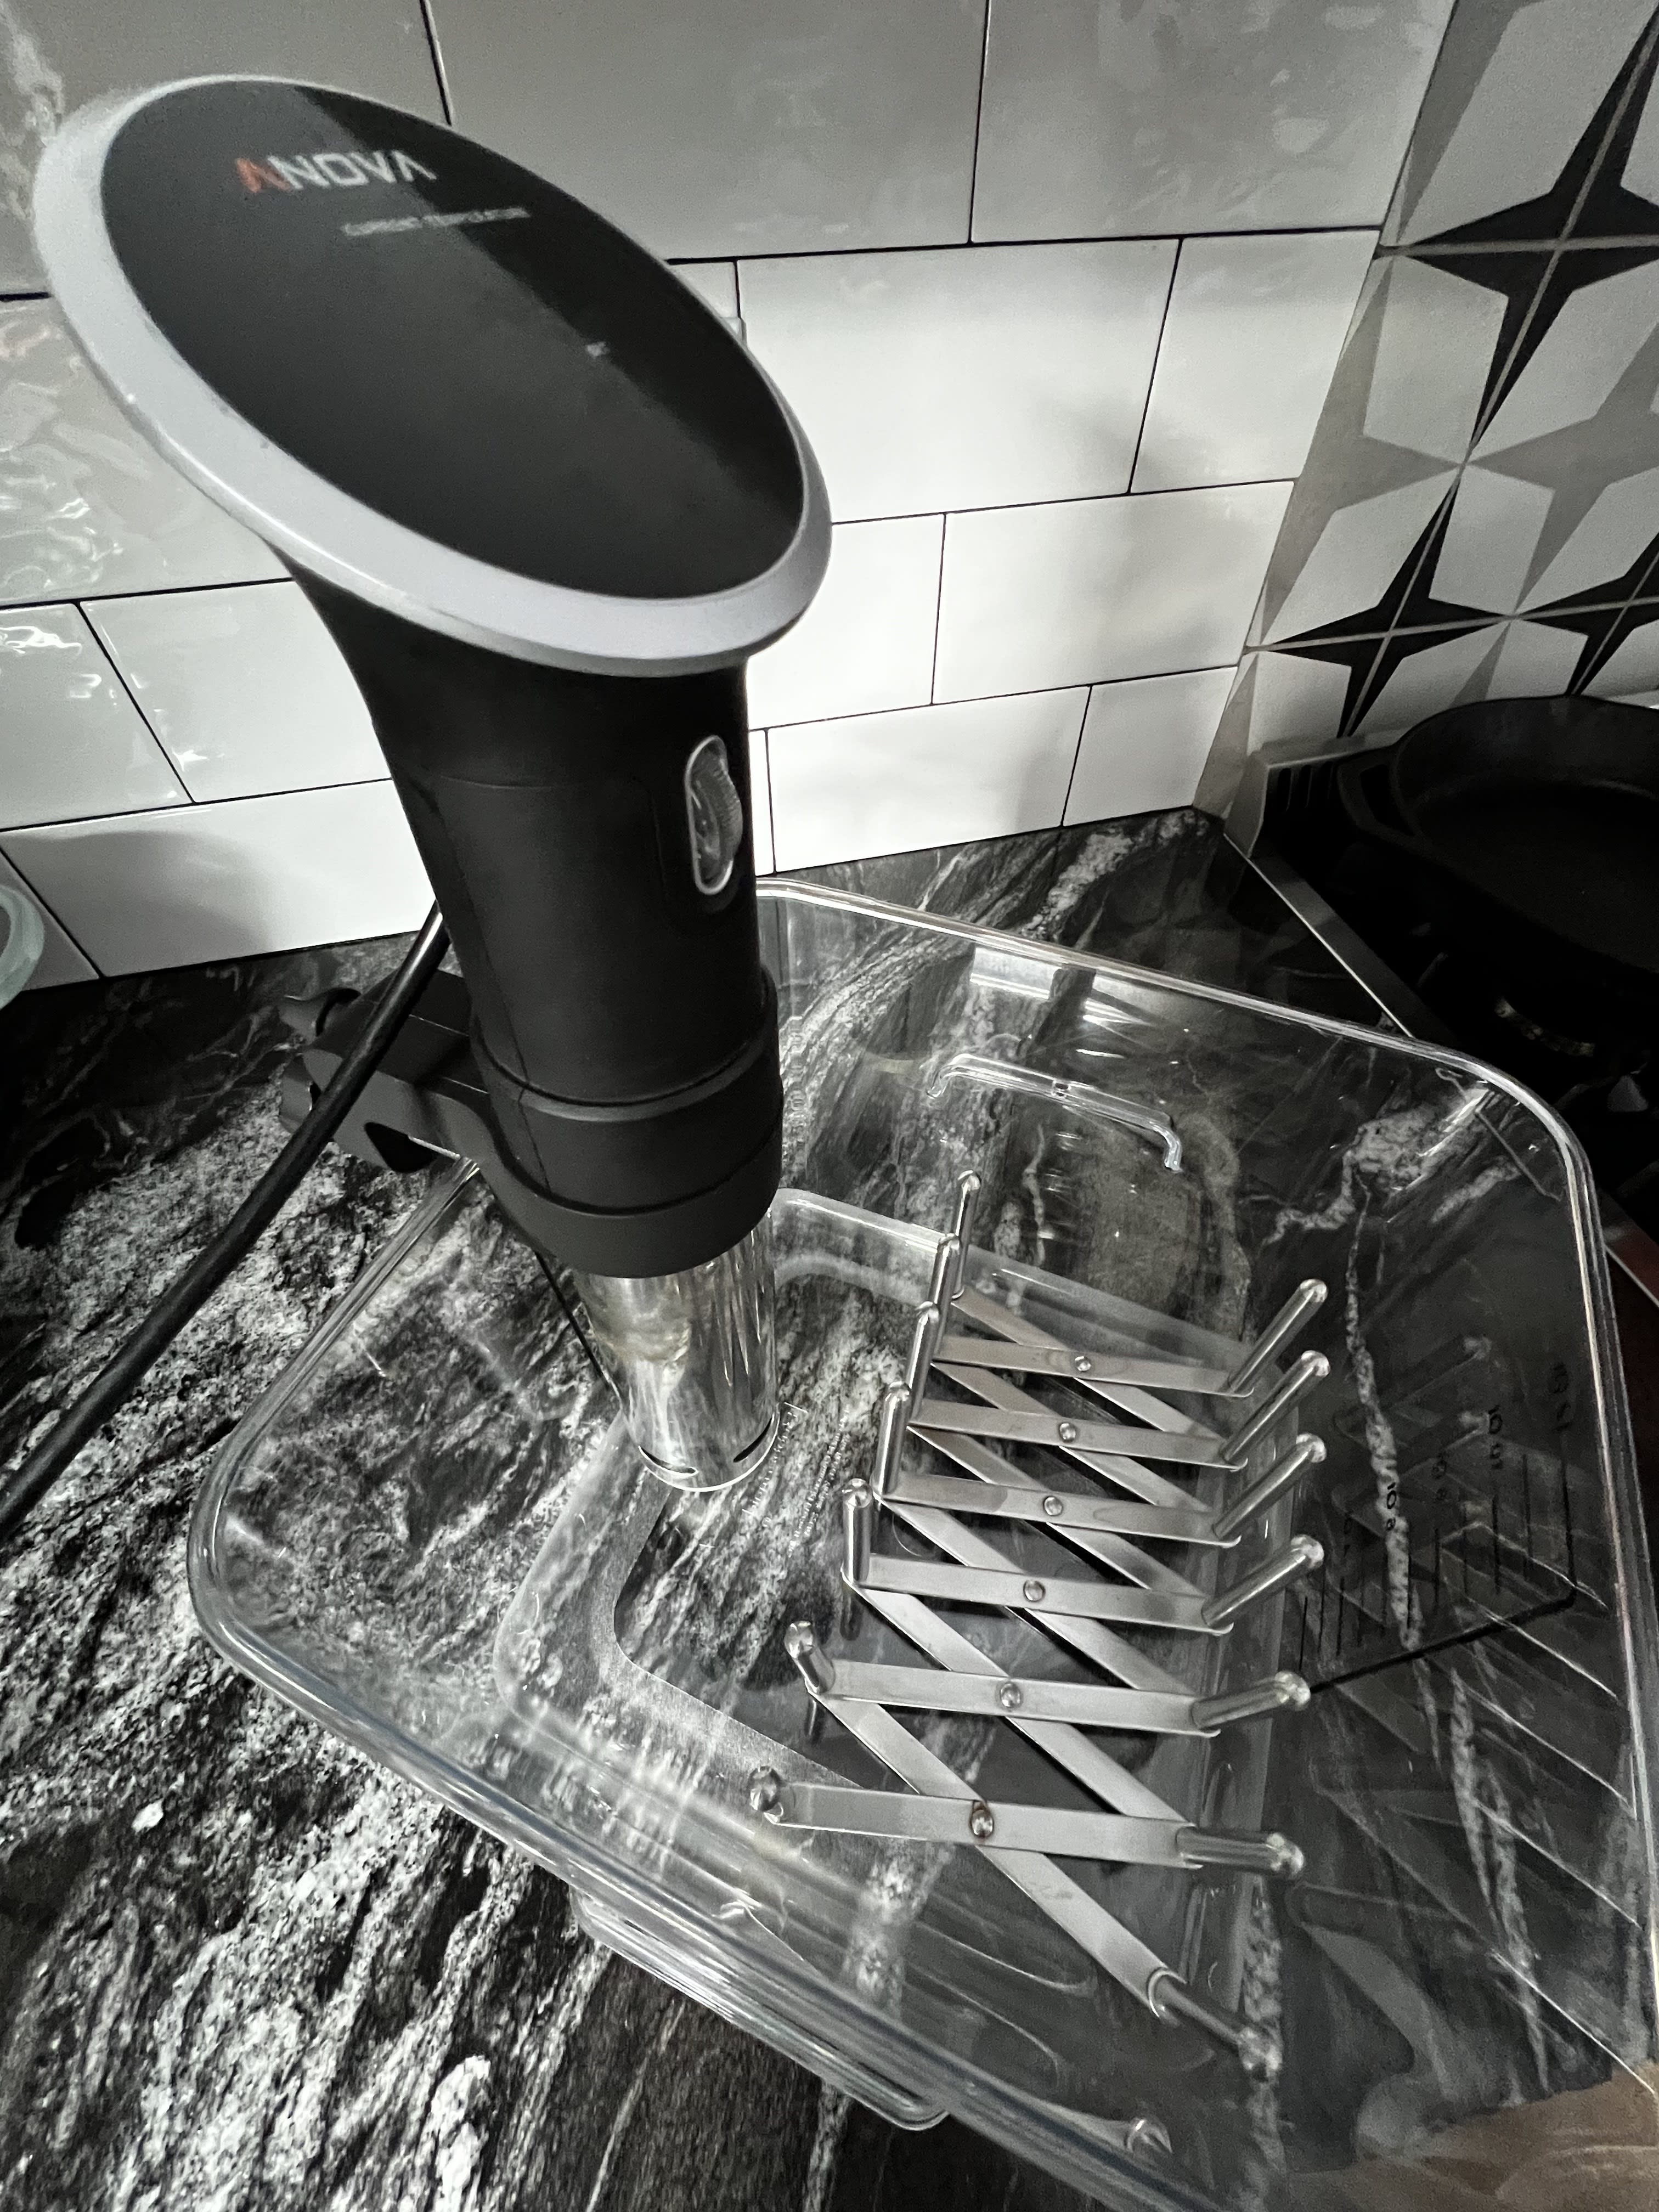
Next, plug in and configure your cooker. Most of them allow you to use an app to control the temperature and cook time, or even dial in a specific recipe. I’ll keep it simple and assume you have buttons or a dial that allow you to set cook temperature and time. Set the temperature to whatever you want for the “doneness” of your steak. You can use many different handy charts to find the temperature that works best for your preferences. I like steak rather rare, and dial my sous vide to 122°F or 123°F. Cook times also depend on what you want. For steak, 1 to 1.5 hours is good, but you can cook for longer if you want to break down more fat. Longer cook times come with some danger, as the more you cook, the more the connective tissue can break down. At a certain point, steak can become inedible or have an off putting texture, so I don’t recommend cooking for more than 4 hours.
Press start and let the cooker heat up in the background, as it will take 12-15 minutes to reach temperature.
Step 3: Prepare Your Steaks
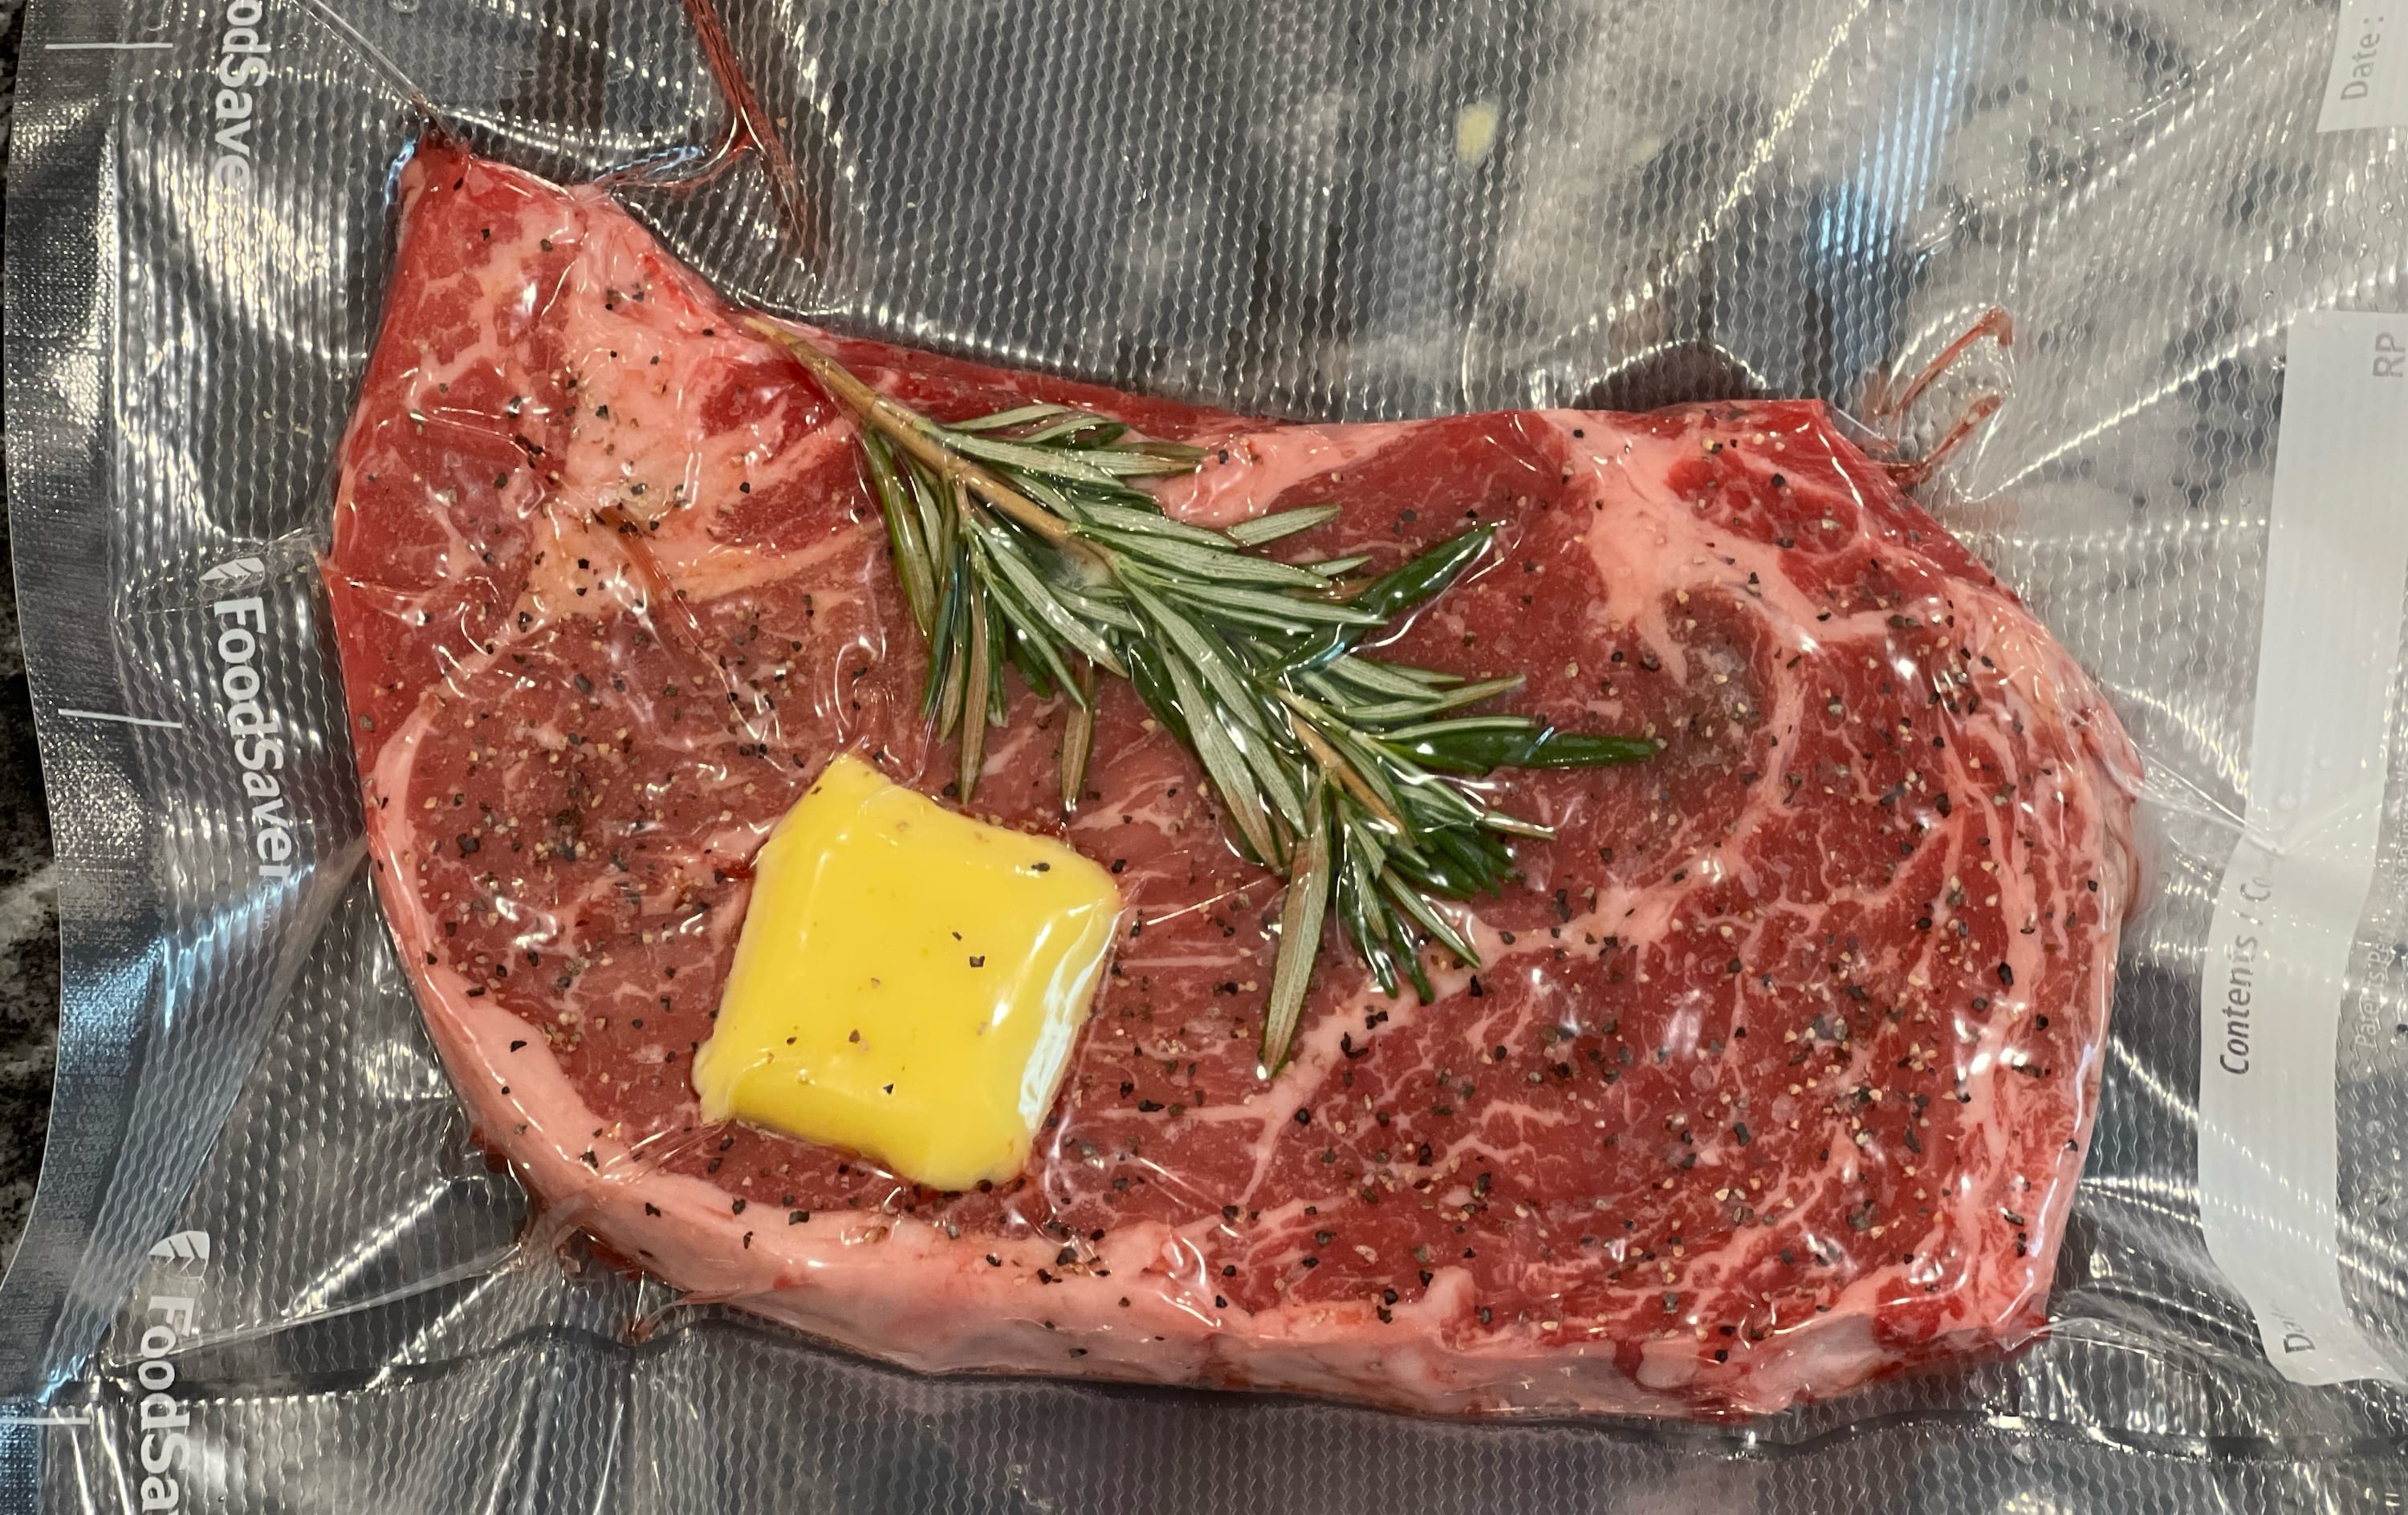
Seasoning steaks is another matter of personal preference, but you can’t go wrong with the basics. I like to use even amounts of Kosher salt, coarsely ground black pepper, onion powder, and garlic powder on mine. I usually also place a spring of rosemary and a pat of butter in the bag alongside my steaks. You can do whatever you prefer, from even more basic seasoning to complex espresso rubs. I recommend doing the basics first as a baseline, then experimenting as you get comfortable.
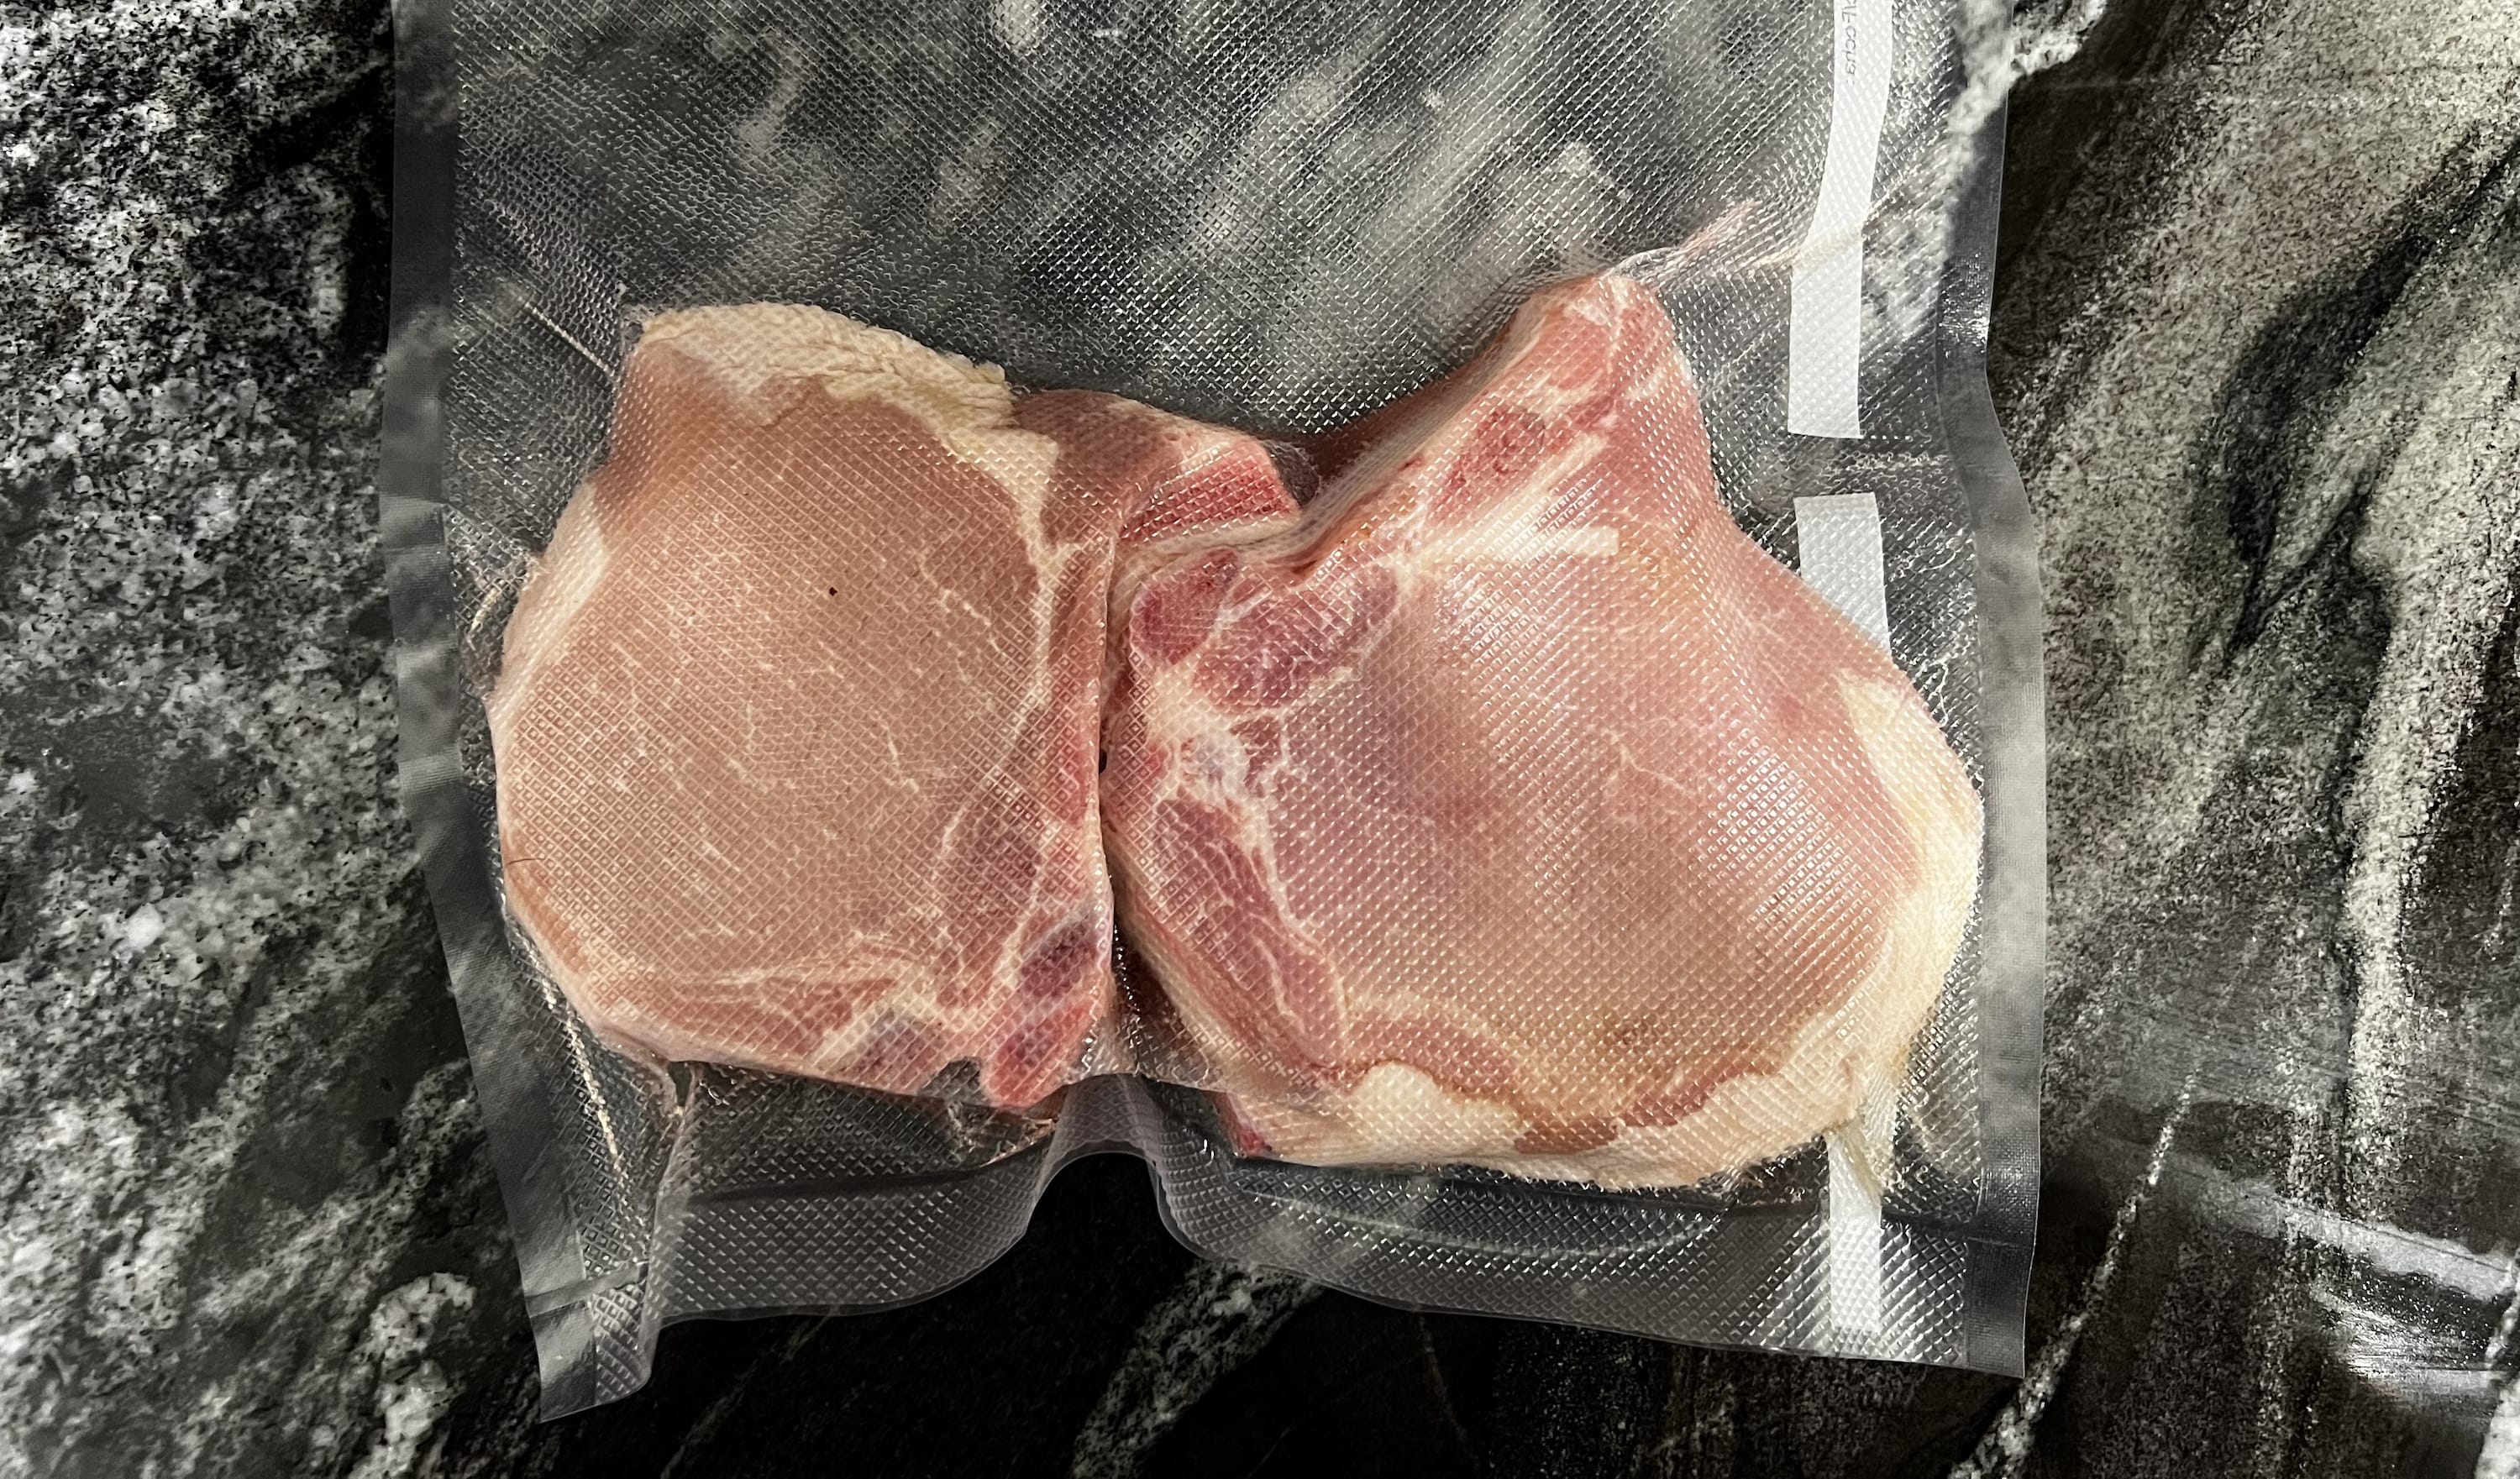
Now we get to the fun part! Sealing your steaks is best done with a vacuum sealer. For this method, grab a pre-cut bag larger than your steak (or cut and prepare a custom bag), ensure the bottom is sealed, and put your 1-2 steaks inside, flat and longways. You don’t want to overstuff the bags, but don’t be afraid to press steaks directly next to each other. You want a few inches of space left in the top of the bag for it to fit into the vacuum sealer. Optionally (but recommended), add a pat of butter and fresh herbs on top of the steaks at this point.
Next, mate the open end of your bag up to the right spot in your vacuum sealer and vacuum until you stop seeing air move out of the bag. Without opening the sealer, press seal to melt the end of the bag and lock in the steaks. Whether you vacuum seal or use the water displacement method, you want the steaks to look tightly wrapped by the bag with no visible air.
Step 4: Cook
Finally, you’re ready to cook! Feel free to add the steaks directly to the water even if it hasn’t reached temperature - they will still cook evenly. Steaks should be nearly neutrally buoyant and sit in the water, but they can be held in the water with any number of clothespins, racks, or specialized tools. Just ensure that the steaks are fully submerged and cannot float around in the current or clog the circulator. Start your timer from when the water reaches temperature.

At this point, grab a beer and make your sides. You have about an hour to an hour and a half to relax before your next steps.
Step 5: Sear and Enjoy
Once you have about 15 minutes left, it’s a good time to get your pan hot. I use cast iron for this, and get it as hot as I can just before it smokes. You want a “ripping hot” pan, so hot that when the steaks hit the pan, they immediately start to sear. Cold pans will not sear as fast, and will actually cook the meat, blowing past your intended level of doneness. Searing should take no more than 1-2 minutes per side. DO NOT TOUCH THE STEAKS BEFORE THIS TIME OR FLIP THEM CONSTANTLY. Doing so will prevent a hard sear and will burn off juices. Once one side is done, I flip and then add butter, aromatics, and garlic to add additional flavor. You can then baste the steaks by tiling the pan and using a spoon to pour the butter mixture over the top. At a minimum, try to do this with butter - it’s well worth it.

Last, let the steaks sit for 5 minutes. When you cook, juices are forced out of the muscle tissue. If you cut steak too soon, these juices flow out and flood your plate, and you end up with a less juicy steak. Waiting 5 minutes allows the steak to reabsorb these juices and create a perfect bite every time.
Other Uses for Sous Vide
The sky is the limit with sous vide. Beyond steak, you can use sous vide for essentially any protein you want, including fish. You can put together meals in advance, vacuum seal them, and use the sous vide cooker to bring them to temperature with nearly no effort. You can prepare whole meals that need braising (like sauces or soups) partially in the sous vide, leading to intense depth of flavor and easy reheating. Some even push the method to canning or jarring, including creating knockoff egg bites that taste better than premade at a fraction of the cost.

I highly recommend experimenting as soon as you get comfortable. Just like boiling, baking, searing, frying, and microwaving, the approaches and general prep you do with sous vide is identical whether you cook a steak or a whole meal. What matters is your imagination, willingness to spend time learning, and patience. Likewise, sous vide is just one tool in the kit, and other techniques are still worth exploring!
One way to force yourself to learn the sous vide fully is to try cooking to slightly different temperatures and comparing the results. Rather than just cooking a steak to 123°F every time, why not try 122°F or 125°F? You can see subtle differences even with this small change that could lead you to a new favorite. Pushing it further, why not try chicken at 155°F? Or fish at 130°F? As long as you follow safe cooking practices for your protein and time, you can unlock flavors and textures that you’ve never tried, all at the push of a button. Pro-tip: this is one reason why restaurant food is so juicy, tender, and safely pink!
TL;DR don’t be intimidated by sous vide. It’s very easy to get right, very hard to get wrong, and will take your home cooking from okay to great in an instant.